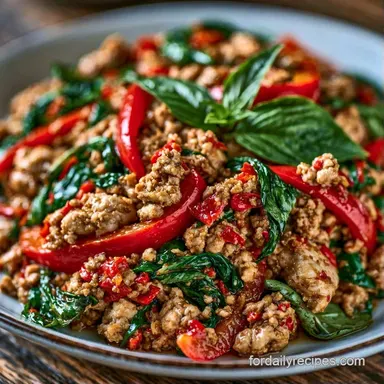
Authentic Thai Basil Chicken in 20 Minutes
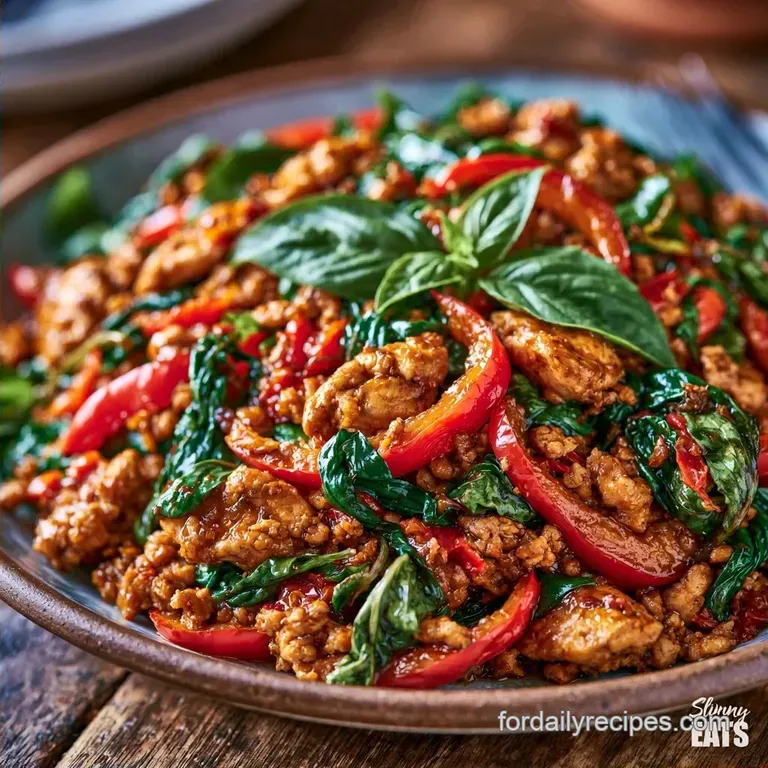
- Timing: 10 min prep + 10 min cook
- The Hook: Glossy, savory glaze paired with lacy, crispy eggs
- Best for: Quick weekday meals or high-protein meal prep
- Fast Facts for Thai Basil Chicken
- The One Thing That Changes Everything
- What Each Ingredient Does
- Essential Gear for This Dish
- Key Steps to Success
- What Can Go Wrong (and How to Fix It)
- Make It Your Own
- Make-Ahead and Leftover Tips
- Pairing Ideas
- The One Thing That Changes Everything
- Recipe FAQs
- 📝 Recipe Card
The aroma of garlic and bird's eye chilies sizzling in hot oil is the quintessential scent of Bangkok street food. Anyone who has strolled through a Thai night market knows that pungent, mouth watering fragrance that hits you before the food even arrives.
This dish, Gai Pad Krapow, is the definitive comfort food in Thailand the reliable, speedy choice for when you're undecided on dinner.
I spent a long time believing takeout was the standard. However, takeout often arrives as a soggy, sugary heap where the chicken is steamed instead of seared. The authentic version is leaner and more intense, utilizing a specific basil variety that tastes more like pepper and anise than the sweet basil used in pesto.
When making this Thai Basil Chicken at home, the goal is contrast. You want the chicken deeply caramelized, the peppers to keep a slight crunch, and the eggs to have those browned, crinkled edges. It's a combination of heat and umami that works everywhere, but achieving it requires a bit of heat management.
Fast Facts for Thai Basil Chicken
This process moves fast. Once the oil shimmers, it’s a rapid sequence of stirring and sizzling. Ensure everything is chopped and your sauce is whisked before you start. To keep this a Healthy Thai Basil Chicken, you can replace white rice with cauliflower rice or steamed cabbage, though jasmine rice is the traditional accompaniment.
Temperature is the most critical factor. The goal is searing, not simmering. Insufficient heat causes the ground chicken to leak moisture and boil, resulting in a gray, rubbery texture. You want mahogany brown edges, as that is where the depth of flavor lives.
| Goal | Exact Change |
|---|---|
| Extra Tang | Fold in 1 tsp lime zest at the end |
| Less Heat | Use 2 chilies instead of 5 |
| More Umami | Add 1 tsp extra fish sauce |
The One Thing That Changes Everything
The reason this version tastes different from a standard stir fry is all about the sear and the sauce balance.
Over High heat Searing: Using a wok or cast iron allows the chicken to brown quickly. This creates savory compounds that add a roasted quality to the meat.
The Umami Blend: Combining fish sauce, oyster sauce, and two types of soy sauce creates a layered saltiness. The dark soy sauce isn't really for flavor, it's for that deep, rich color.
Since the cooking time is so short, the aromatic oils in the basil only have a few seconds to release. If you cook the basil too long, it loses that peppery punch and just tastes like cooked greens. Folding it in at the very end keeps those volatile oils intact.
| Fresh Ingredients | Shortcut Versions | Impact | Savings |
|---|---|---|---|
| Fresh Thai Basil | Dried Basil | Loss of anise flavor; tastes generic | $2.00 |
| Fresh Garlic/Chili | Garlic Powder/Flakes | Lacks pungent, sharp aroma | $1.00 |
| Fresh Shallots | Onion Powder | No sweetness or textural bite | $0.50 |
What Each Ingredient Does
Now, let's go over the equipment. You don't need a gourmet setup, but a pan that can withstand high heat is essential.
| Component | Purpose | Substitute Notes |
|---|---|---|
| Ground Chicken | Primary protein; absorbs sauce | Ground turkey is a solid swap; slightly gamier |
| Thai Basil | Peppery, anise like aroma | Italian basil is sweeter; use 1.5x more |
| Fish Sauce | Fermented, salty depth | Soy sauce and a pinch of salt; lacks the funk |
| Oyster Sauce | Briny sweetness and thickness | Vegetarian mushroom sauce; very similar |
The type of chicken you use makes a difference. I suggest ground chicken as it provides a larger surface area for the sauce to cling to. Since breast meat often dries out, using thighs or a blend is usually a better bet. Per USDA FoodData, chicken thighs have a higher fat content, which ensures the meat stays juicy throughout a high heat sear.
Essential Gear for This Dish
A wok is ideal if you have one; its sloped sides allow you to toss the meat and vegetables easily without them spilling over. If not, a large cast iron skillet is a fantastic alternative because of its excellent heat retention.
Try to avoid using non-stick pans. They cannot withstand the intense heat necessary to achieve a deep brown sear on the ground chicken, which often leads to the meat steaming rather than searing.
Use a sharp chef's knife for your prep work. Make sure everything is diced small especially the red bell peppers to ensure they are fully cooked during those two short minutes of sautéing.
Key Steps to Success
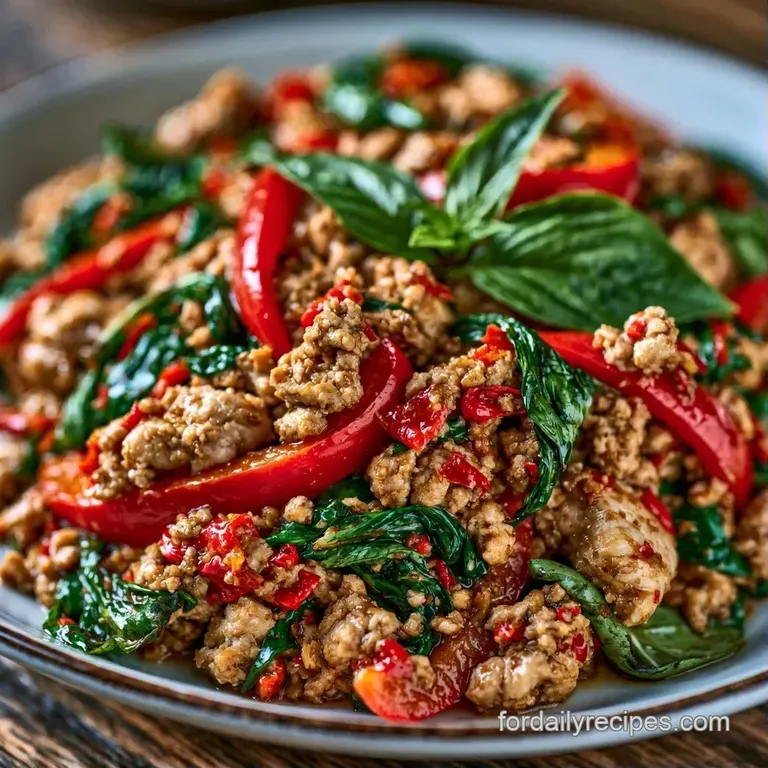
Phase 1: Mise en Place (Prep)
- Mix the sauce. In a small bowl, stir together the oyster sauce, light soy sauce, dark soy sauce, fish sauce, brown sugar, and water until the sugar has completely dissolved. Note: Preparing this beforehand ensures the garlic doesn't burn while you are grabbing bottles.
- Prepare the aromatics. Mince the garlic, chop the chilies, slice the shallots, and dice the red bell pepper, keeping each in separate piles.
Phase 2: Searing over High Heat (Cooking)
- Cook the eggs. Heat 2 tbsp of oil in a wok or skillet over medium high heat. Crack the eggs in one by one. Fry until the edges are brown and lacey but the yolks remain runny. Remove and set aside.
- Sauté the base. Add 3 tbsp of oil to the pan. Toss in the shallots, garlic, and chilies, stir frying for 30 60 seconds. Wait for the fragrance to become sharp and pungent before moving on.
- Brown the chicken. Increase the heat to high and add the ground chicken. Use a spatula to break it up, searing until the moisture evaporates and the meat is deep golden brown. This typically takes 5-7 minutes depending on your stove.
- Incorporate the pepper. Stir in the diced red bell pepper. Sauté for 2 minutes until the pepper softens slightly but still maintains a snap.
Phase 3: Glazing and Finishing (Finishing)
- Glaze the meat. Pour the prepared sauce over the chicken, stir frying rapidly for 1–2 minutes. Wait for the sauce to reduce into a glossy glaze that coats every piece of meat.
- Wilt the basil. Turn off the heat immediately. Fold in the Thai basil leaves, stirring just until they wilt from the remaining heat. The aroma should transition to a sweet, peppery scent the moment they hit the pan.
Chef's Note: Resist the urge to continue cooking once the basil is added. If the basil boils in the sauce, it will turn black and lose the vibrant, fresh flavor that defines Thai Basil Chicken.
What Can Go Wrong (and How to Fix It)
One of the most common issues is the "watery pan" syndrome. This happens when the chicken releases a pool of liquid instead of searing. It's usually caused by overcrowding the pan or starting with a pan that isn't hot enough. If this happens, stop stirring.
Let the liquid boil off on high heat for 2-3 minutes before you start moving the meat again.
Another issue is the basil turning black. This is almost always because the heat was still on when the leaves were added. Remember, the residual heat of the meat and the pan is enough to wilt the leaves.
Fixing a Watery Consistency
If your sauce feels too thin, you might have added too much water or used a brand of oyster sauce that is thinner than usual. You can fix this by letting the sauce reduce for an extra minute on high heat, but be careful not to overcook the chicken.
Managing the Heat Level
Bird's eye chilies vary wildly in potency. If you find the dish is too spicy, don't add more water. Instead, serve it with an extra side of jasmine rice or a fried egg, as the fat in the yolk helps neutralize the capsaicin.
| Problem | Root Cause | Solution |
|---|---|---|
| Meat is gray/steamed | Pan temperature too low | Increase heat; don't overcrowd pan |
| Basil is black/shriveled | Cooked too long | Turn off heat before adding basil |
| Sauce is too salty | Too much fish/soy sauce | Add a squeeze of fresh lime juice |
| Garlic is burnt/bitter | Sautéed too long | Reduce sauté time to 30 seconds |
Make It Your Own
If you can't find Thai basil, you can use Italian basil, but you'll need to add a pinch of black pepper and perhaps a tiny bit of lime zest to mimic that peppery edge. For a different protein, this Gai Pad Krapow Recipe works beautifully with ground pork or sliced chicken breast.
If you use breast meat, make sure to slice it thinly against the grain so it doesn't get tough.
For those who want a more plant based version, crumbled extra firm tofu or finely chopped mushrooms work as a substitute for the chicken. You'll need to use a vegetarian mushroom sauce instead of oyster sauce and a vegan fish sauce (usually made from seaweed). If you're looking for more variety in your Thai meals, you might enjoy my Universal Thai Stir Fry Sauce for other vegetable heavy dishes.
Other Protein Options
- Ground Pork: Traditionally very common; adds a richer, fattier flavor.
- Shrimp: Sauté for only 2 minutes per side to avoid rubbery texture.
- Tofu: Press the tofu first to remove water for a better sear.
Heat Adjustments
- Mild: Remove seeds from the chilies before chopping.
- Extra Hot: Add a teaspoon of dried chili flakes to the sauce.
Make-ahead and Leftover Tips
Thai Basil Chicken stays fresh in the refrigerator for approximately 3 days. Keep your fried eggs separate, as they often become rubbery when reheated. Use an airtight glass container to store the chicken.
When reheating, use a skillet over medium heat. Stirring in a tablespoon of water will loosen the sauce and restore its glossy sheen. Try to avoid using a microwave, as this can overcook the meat and leave the basil with a metallic taste.
Instead of discarding the Thai basil stems, finely chop them and add them to the pan alongside the garlic. Their intense, woody flavor provides excellent depth to the base of the dish. You can also use the lime wedges from the serving plate to refresh any leftover rice.
Pairing Ideas
The traditional way to serve this is over a steaming bed of jasmine rice with a side of prik nam pla (fish sauce with sliced chilies). The rice acts as a neutral canvas for the bold, salty flavors of the chicken.
If you're planning a larger spread, this pairs perfectly with a Traditional Thai Dinner featuring a cooling cucumber salad or a tangy papaya salad. The acidity of a cucumber salad cuts through the richness of the fried egg and the saltiness of the soy sauce.
For a drink, something refreshing like an iced Thai tea or a sparkling lime soda works best. The sweetness of the tea balances the heat of the bird's eye chilies.
The One Thing That Changes Everything
If there is one crucial point to remember, it is the sequence of steps. Many cooks make the mistake of simmering the basil, which kills its fresh aroma. Folding the herbs in off the heat is the secret to achieving a restaurant quality result.
Don't overlook the dark soy sauce. It is often swapped for light soy or left out entirely, but they serve different purposes: light soy adds salt, while dark soy provides the rich color and a subtle, molasses like sweetness.
Without it, your Thai Basil Chicken will look pale rather than having that deep, professional glaze.
You now have the technique and the tools. Just remember: high heat, quick stirring, and basil added last. When the garlic is fragrant and the chicken is a rich mahogany brown, you'll have a meal that tastes exactly like a Bangkok street stall.
Recipe FAQs
How to stop ground chicken from steaming in the pan?
Increase heat to high and sear the meat until the moisture evaporates and it turns deep golden brown. Avoiding a crowded pan helps maintain the high temperature needed for a savory crust.
Can I substitute sweet basil for Thai basil?
Use it only as a backup since it lacks the signature peppery and anise notes. If you enjoyed the glossy glaze here, see how we achieve a similarly silky texture in our Garlic Parmesan Sauce.
Is it true that you must use a wok for authentic results?
That's a myth. A large cast iron skillet is an excellent alternative for maintaining the intense heat required to brown the chicken.
Why are the eggs cooked before the chicken?
Fry them first so the edges become brown and lacey while the yolks remain runny. This ensures the eggs stay distinct and don't get overcooked during the stir fry process.
Thai Basil Chicken Stir Fry 2