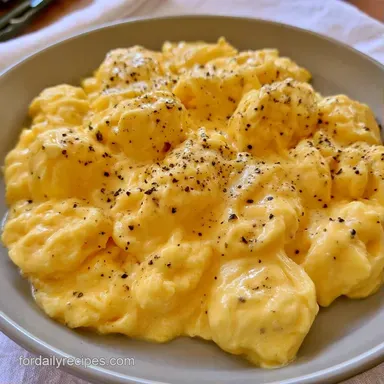
Soft Scrambled Eggs in 10 Minutes
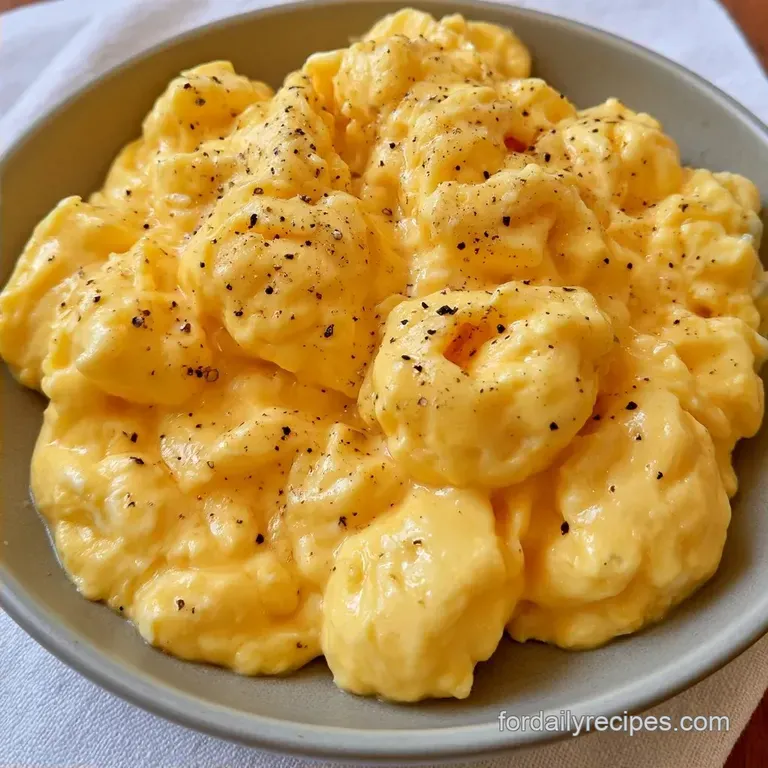
- Time: 5 min active + 5 min cooking
- Flavor/Texture Hook: Creamy, glistening curds
- Perfect for: A slow weekend brunch or a healthy weekday start
The sound of a whisk hitting a ceramic bowl in the quiet of the morning is a time honored rhythm in my house. For me, it all comes down to the eggs. I always look for the richest, orange yolked eggs I can find because they provide a natural depth that you just can't fake with additives.
When the yolks are dense and bright, the final dish feels like a heritage meal, something passed down through generations of home cooks.
But let's be honest, eggs are temperamental. One minute they're glistening, and the next, they've turned into yellow sponges. I've spent way too many mornings staring at a pan, wondering why my eggs were drying out.
The goal here is a set of Soft Scrambled Eggs that feel lush and tender. We aren't looking for a hard set, but something that almost melts. It's all about managing the heat and knowing exactly when to pull the pan away from the fire.
Why Most Recipes Fail
- Excessive Heat: High flames tighten the protein bonds too quickly. This squeezes out the moisture and leaves you with dry curds.
- Over mixing in the Pan: Moving the eggs too fast creates tiny, grainy pieces. Slow folds keep the texture substantial and soft.
- Ignoring Carryover: Eggs keep cooking after they hit the plate. If they look done in the pan, they'll be overcooked by the time you sit down.
The choice of cooking method changes the vibe of the meal entirely. Most people stick to the stove, but there are other ways.
| Method | Time | Texture | Best For |
|---|---|---|---|
| Stovetop | 5 minutes | Soft and glossy | Quick breakfasts |
| Oven Baked | 15 minutes | Uniform and airy | Large crowds |
Choosing the right heat source is the first step to getting that restaurant style scrambled eggs feel.
The Basic Recipe Specs
This recipe serves two people and fits a standard 8 inch skillet. It's designed to be fast, taking only 10 minutes from the moment you crack the first egg to the moment you take your first bite.
The focus here is on a healthy scrambled eggs recipe, using olive oil instead of heavy butter to keep things light without sacrificing the mouthfeel.
Your Essential Ingredient List
The quality of your fats and proteins dictates the outcome. I prefer extra virgin olive oil for a subtle, fruity note that complements the eggs.
| Ingredient | Role | If You Don't Have It |
|---|---|---|
| Large Eggs | Main structure | Organic pasture raised eggs for richer color |
| Water | Creates steam for lift | Unsweetened almond milk (adds richness) |
| Sea Salt | Flavor enhancer | Kosher salt |
| Olive Oil | Heat medium | Unsalted butter |
Let's look at the full list and how to swap things if your pantry is bare.
- 4 large eggs Why this? Provides the necessary fat and protein ratio. (Substitute: 3 eggs + 2 tbsp cottage cheese for extra protein)
- 1 tbsp water Why this? Creates steam pockets for a fluffier lift. (Substitute: 1 tbsp heavy cream)
- 1/8 tsp fine sea salt Why this? Seasoning the eggs early helps break down proteins. (Substitute: 1/8 tsp table salt)
- Pinch of freshly ground black pepper Why this? Adds a sharp, aromatic contrast. (Substitute: White pepper)
- 1 tsp extra virgin olive oil Why this? High smoke point and heart healthy fats. (Substitute: 1 tsp avocado oil)
The Right Kitchen Tools
While you don't need a fancy kitchen, a few key tools make a big difference. A non-stick pan is a must have here; without one, you'll spend more time scrubbing the cookware than eating your breakfast.
A silicone spatula is also highly recommended, as it's flexible enough to scrape the edges without scratching the pan. A medium bowl and a sturdy whisk are the only other necessities.
Step by step Method
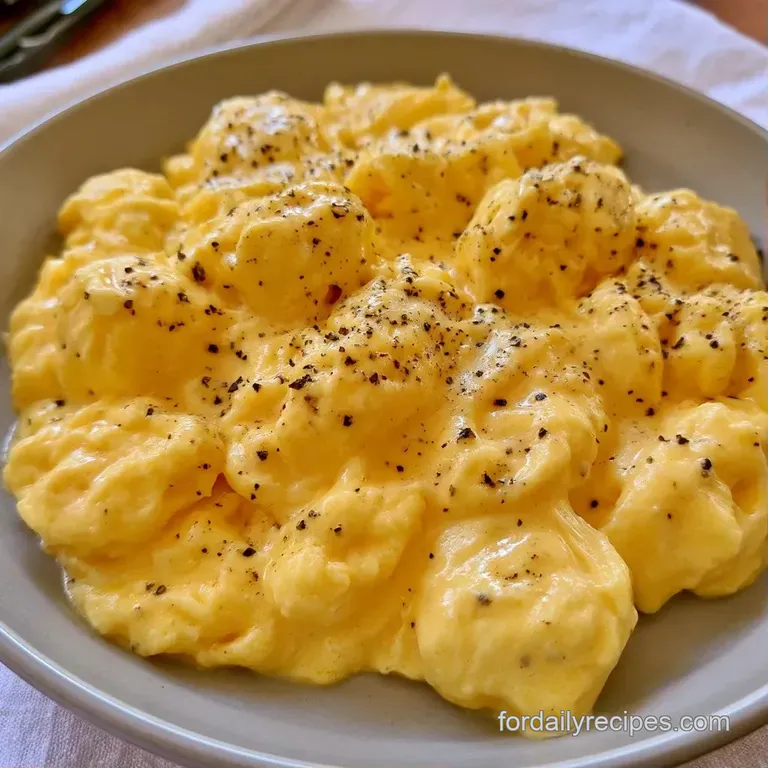
Right then, let's crack on. Keep your heat low and your movements slow.
- Crack the eggs into a bowl and add the water, salt, and pepper.
- Whisk vigorously for 30-60 seconds until the mixture is frothy and uniform in color. Note: This incorporates air for a lighter texture.
- Place an 8 inch non stick skillet over medium low heat and add the olive oil.
- Wait until the oil shimmers but doesn't smoke.
- Pour in the egg mixture and let it sit undisturbed for 15-20 seconds.
- Wait until the edges just begin to set.
- Using your spatula, gently push the cooked edges toward the center.
- Continue folding to create large, velvety folds, allowing the liquid eggs to fill the gaps.
- Cook until the eggs look 80% set (still wet and glistening).
- Remove the pan from heat immediately and slide the eggs onto a plate.
The smell of the warming olive oil and the sharp hit of black pepper should tell you the pan is ready. Trust your nose and your eyes more than the timer.
Avoiding Common Egg Errors
It's easy to overdo it. If you see the eggs bubbling aggressively or turning brown, the heat is too high. I once accidentally scorched a batch by leaving the burner on medium high, and they tasted more like an omelet than soft eggs.
Stopping the Overcook
If the eggs are setting too fast, lift the pan off the burner for 10 seconds. This drops the temperature instantly and gives you control back.
Fixing Grainy Texture
Graininess happens when you over whisk the eggs in the pan or cook them too long. Slow down your folds.
Preventing Rubbery Texture
The rubbery feel comes from over coagulation. Pull the eggs when they still look a bit too wet.
| Problem | Fix |
|---|---|
| Eggs are browning | Lift pan off heat immediately |
| Texture is too dry | Remove from pan 30 seconds earlier |
| Curds are too small | Fold slowly instead of stirring |
- For a firmer set
- Cook until 95% set before plating.
- For more air
- Whisk for a full 90 seconds.
- For a richer taste
- Replace water with a splash of cream.
Best Side Dish Pairings
These eggs are mild, so they love a partner with some punch. I usually serve them with a slice of sourdough toast rubbed with a raw garlic clove.
If you're putting together a full brunch spread, these pair nicely with some mini muffins for a touch of sweetness. The contrast between the savory eggs and the sweet cake is a classic move.
Storage and Waste Tips
While these eggs are tastiest fresh off the stove, any remaining portions can be kept in a closed glass jar in the refrigerator for up to 2 days.
When reheating, try to skip the microwave. Instead, warm them in a small skillet over low heat with a touch of butter for 2 minutes to ensure they don't get rubbery.
To minimize waste, keep your eggshells. Once crushed, mix them into your garden soil to give your peppers and tomatoes a helpful calcium boost.
Customizing Your Eggs
Once you've mastered this simple technique for soft scrambled eggs, feel free to experiment. I personally enjoy stirring in a tablespoon of fresh chives or crumbled feta just before serving.
For a more substantial meal, pair these with a bowl of classic oatmeal for a balanced start to your morning.
| Original Ingredient | Substitute | Why It Works |
|---|---|---|
| Olive Oil | Butter | Traditional taste, though a bit heavier |
| Water | Heavy Cream | Produces a richer, denser curd |
| Sea Salt | Soy Sauce | Provides umami and a darker hue |
Adjusting the Batch Size
If you're cooking for one, use 2 eggs and a smaller 6 inch skillet. Cut the cooking time by about 20% since the eggs will set more quickly.
For a larger crowd (8 eggs), cook in batches. If the pan is too crowded, the eggs will steam instead of folding, ruining that creamy scrambled eggs texture. Lower the heat slightly and increase the cooking time to roughly 8 minutes.
Recipe FAQs
How to make soft scrambled eggs like restaurants?
Whisk eggs with water, salt, and pepper, then cook over medium low heat using a silicone spatula to create velvety folds.
Tip: remove the pan from heat when eggs are 80% cooked to let residual heat finish the process.
What's the secret to keeping scrambled eggs moist?
Use medium low heat and stop cooking while the eggs still look wet and glistening.
Tip: ensure the olive oil shimmers before pouring in the mixture to prevent sticking.
Which method is best for fluffy eggs?
Whisk the eggs vigorously for 30 to 60 seconds until the mixture is frothy.
Tip: this incorporates air, which creates a lighter and more airy texture.
Is it true that eggs must be cooked until they are completely firm?
No, this is a common misconception. Cooking them until they are 80% set prevents them from becoming rubbery.
Tip: slide them onto a plate immediately to stop the cooking process.
What prevents the eggs from sticking to the pan?
Heat a non-stick skillet over medium low heat with one teaspoon of olive oil.
Tip: wait for the oil to shimmer but not smoke before adding the egg mixture.
Can I add water to my eggs for a better texture?
Stir in one tablespoon of water during the whisking process.
Tip: this helps create steam during cooking for a softer curd.
Do I need to stir the eggs immediately after pouring?
Let the mixture sit undisturbed for 15 to 20 seconds until the edges begin to set.
Tip: gently push the cooked edges toward the center to form large folds.
Where can I find a great side pairing?
These eggs pair perfectly with a serving of homemade rolls.
Tip: serve them immediately while steaming for the best texture.
Soft Scrambled Eggs