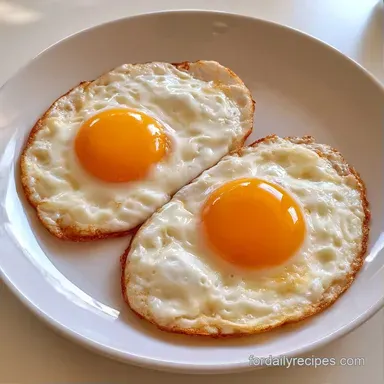
Sunny Side Up Eggs in 7 Minutes
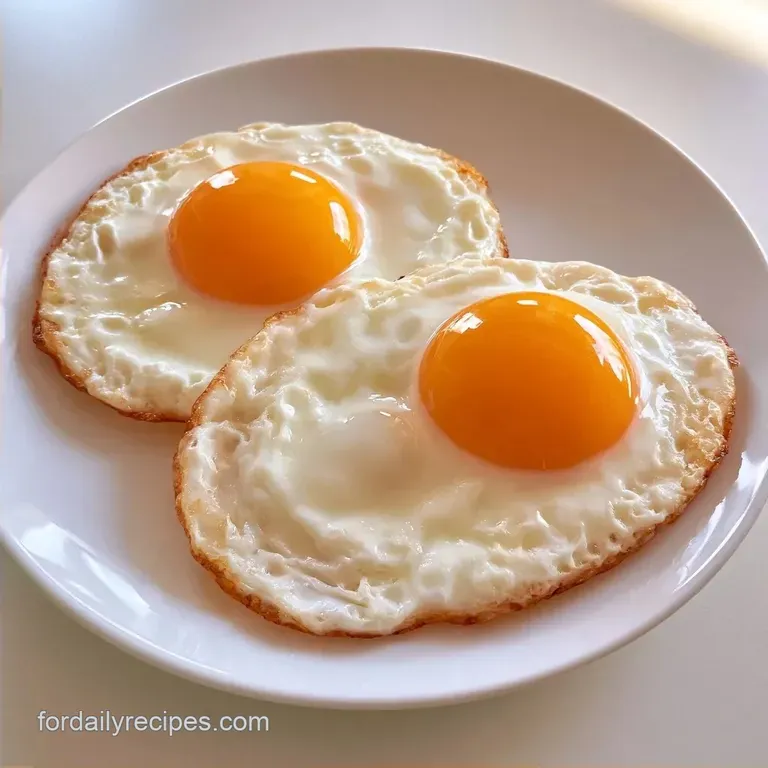
- Time: 2 min prep + 5 min cook
- Flavor/Texture Hook: Silky yolk with fully set, tender whites
- Perfect for: A quick weekday breakfast or a weekend brunch
That first sizzle as butter hits a hot pan is the ultimate morning wake-up call; it's the signal that breakfast is officially underway. For years, I battled those translucent, gelatinous bits of egg white that linger around the yolk.
I used to flip the eggs to get rid of them, but then they weren't truly sunny side up anymore.
The real breakthrough is managing the heat and utilizing trapped steam. This ensures a vibrant, liquid gold center and whites that stay soft rather than rubbery. It is a straightforward method that respects both your time and your palate.
Whether you are dashing off to a meeting or enjoying a slow Sunday, these Sunny Side Up Fried Eggs are ready in less than ten minutes. Professional results are easy to achieve all you need is a lid and a little patience.
Quick Stats for the Eggs
Cooking breakfast shouldn't feel like a chore. This method focuses on minimal tools and a reliable timeline.
| Feature | Detail |
|---|---|
| Method | Stovetop |
| Pan Type | Non stick |
| Heat Level | Medium low |
| Finish | Steam set |
The difference between a stovetop and oven method usually comes down to volume. Stovetop gives you instant control over each egg, while the oven is better for groups.
| Method | Speed | Control |
|---|---|---|
| Stovetop | Fast | High |
| Oven | Slower | Low |
The Essential Ingredients
Stick to simple, fresh ingredients here. The quality of the butter makes a noticeable difference in the flavor of the base.
| Ingredient | What It Does | Best Swap |
|---|---|---|
| Large Eggs | Provides the main structure | Omega-3 eggs for more richness |
| Unsalted Butter | Adds flavor and prevents sticking | Ghee: Higher smoke point, nutty taste |
| Kosher Salt | Enhances natural egg flavor | Sea salt: Coarser texture |
| Black Pepper | Adds a mild, spicy bite | White pepper: More subtle look |
- 2 large eggs Why this? Consistent size ensures even cooking times
- 1 tbsp unsalted butter Why this? Better flavor than oil and foams to show heat
- 1 pinch kosher salt
- 1 pinch black pepper
The Minimal Tool Kit
You only need a few basics to make this work. Don't overthink the gear.
For the Pan
An 8 inch non stick skillet is the gold standard. It keeps the eggs from tearing when you slide them out.
For the Eggs
Small ramekins are a lifesaver. Cracking eggs into a bowl first prevents shells from ruining your morning and keeps the yolks from breaking during the drop.
For the Finish
A tight fitting lid is mandatory. This traps the steam needed to set the top of the whites without needing to flip the egg.
The step-by-step Process
Follow these steps for consistent results. The key is the temperature and the lid.
- Place an 8 inch non stick skillet over medium low heat.
- Add the unsalted butter and let it melt until it foams slightly but does not brown. Note: Foaming butter means the pan is ready
- Crack each egg into a small ramekin first.
- Gently slide the eggs from the ramekin into the butter.
- Immediately season the eggs with kosher salt and black pepper.
- Wait until the edges of the whites turn opaque.
- Cover the pan with a tight fitting lid.
- Cook for 1-2 minutes until the whites are set but the yolk jiggles.
- Remove from pan 30 seconds before they look fully done. Note: Carry over heat finishes the cooking
The Steam Set Trick
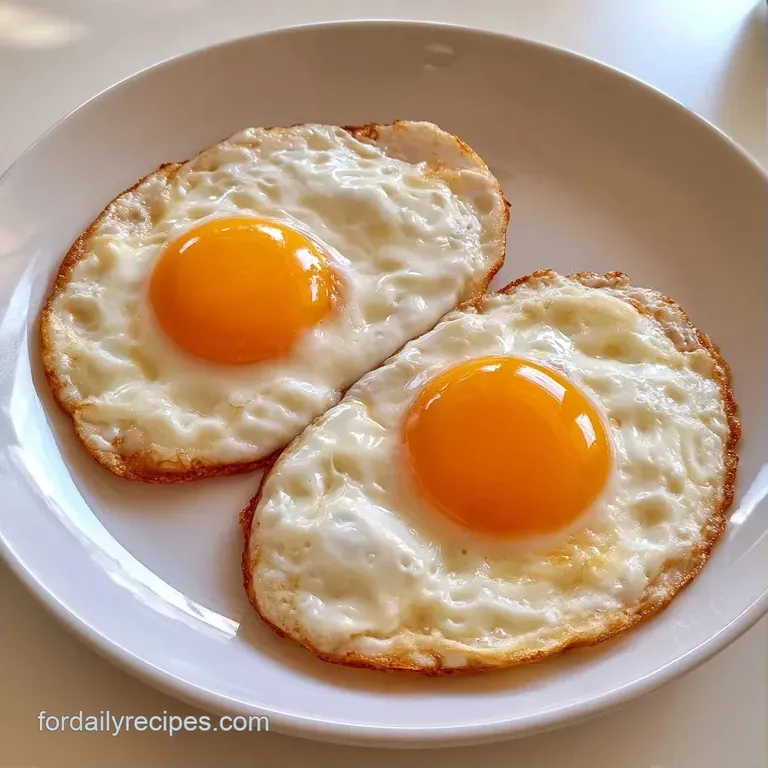
This isn't about fancy science, just basic physics in the pan.
- Trapped Moisture: The lid turns the pan into a steam chamber, cooking the top of the egg white quickly.
- Butter Buffer: Butter provides a stable temperature that prevents the bottom from burning while the top finishes.
The steam sets the proteins on top of the egg without applying direct heat to the yolk. This keeps the center liquid.
Fixing Common Egg Issues
Even the best of us have an egg break or a white stay runny. It's usually a heat or tool issue.
Preventing Broken Yolks
Avoid dropping eggs from a height. Sliding them from a ramekin keeps the yolk centered and intact.
Eliminating Runny Whites
If the whites around the yolk are still clear, don't turn up the heat. Instead, add a teaspoon of water to the pan and put the lid back on for 30 seconds.
Avoiding Rubbery Texture
Too much heat makes eggs bounce. Keep the dial on medium low to ensure the whites stay tender.
| Problem | Root Cause | Solution |
|---|---|---|
| Broken Yolk | Dropped from too high | Use a ramekin to slide egg in |
| Rubbery Whites | Heat too high | Drop to medium low |
| Snotty Whites | Lack of steam | Use a tighter lid or add water |
| Burnt Bottom | Butter browned too fast | Lower heat before adding eggs |
Storage and Zero Waste
While freshest when eaten right away, you may end up with extras.
Refrigerator Storage
Keep cooked eggs in a sealed container for 2 days. Since the texture degrades, they are better suited for sandwiches than for eating alone.
Ideal Reheating Technique
Avoid the microwave, otherwise they'll become rubbery. Instead, warm them in a skillet with a small pat of butter for 1 minute over low heat.
Sustainability Hack
Don't toss the shells. Crush them and mix them into your compost or garden soil for a natural calcium boost.
Fun Ingredient Twists
Now that you've mastered the basics, feel free to customize the flavors.
- For a Spicy Kick: Stir some red pepper flakes into the butter before cracking in the eggs.
- For a Cheesy Edge: Sprinkle a little parmesan over the whites just before covering the pan.
- For a Different Style: If you want more crunch, try this Thai Crispy Fried Egg method.
When preparing Side Up Fried Eggs for a group, cook them in batches. Too many eggs in the pan will cause the heat to dip, and you'll lose that gentle sizzle. For a more substantial meal, Up Fried Eggs are excellent on a piece of toasted sourdough.
Perfect Breakfast Pairings
While the eggs are the main event, a few sides make the meal complete.
- The Savory Pairing: Serve alongside thick cut bacon and sautéed spinach.
- The Hearty Pairing: Place these on Avocado Egg Breakfast Toast for a more substantial meal.
- The Classic Pairing: Stick with traditional hash browns or grilled tomatoes.
Decision Shortcut
- For a firmer yolk: Give the lid an extra 30 seconds.
- For crispier edges: Bump the heat up to medium.
- For extra tenderness: Keep the heat on a lower setting.
You are all set to cook. Just rely on the power of the lid and the foam in the butter. Enjoy your Sunny Side Up Eggs!
Recipe FAQs
What is the difference between sunny side up and over easy eggs?
Sunny side up eggs are never flipped. They are cooked on one side only, leaving the yolk liquid and bright. Over easy eggs are flipped briefly to sear the top of the yolk while keeping the center runny.
How to make perfect sunny side up eggs?
Melt butter in a non-stick skillet over medium low heat. Gently slide eggs from a ramekin into the pan, season, and cover with a lid for 1 2 minutes. Remove them 30 seconds before they look fully done to let carry over heat finish the whites.
Is it true you must flip the egg to get the whites to set?
Actually, no. Using a tight fitting lid traps steam, which cooks the top of the whites perfectly without needing to flip or baste the egg.
Which styles of fried eggs are most common?
The four main types are sunny side up, over easy, over medium, and over hard. These vary based on whether the egg is flipped and how long the yolk cooks. If you enjoyed mastering the sensory doneness cues here, apply them to our Turkish potato salad for perfectly tender results.
Sunny Side Up Eggs