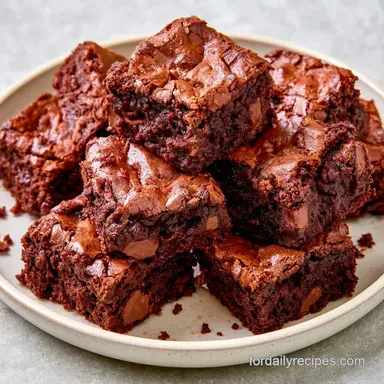
Fudgy Cream of Wheat Brownies
- Time: 15 min active + 1 hour cooling
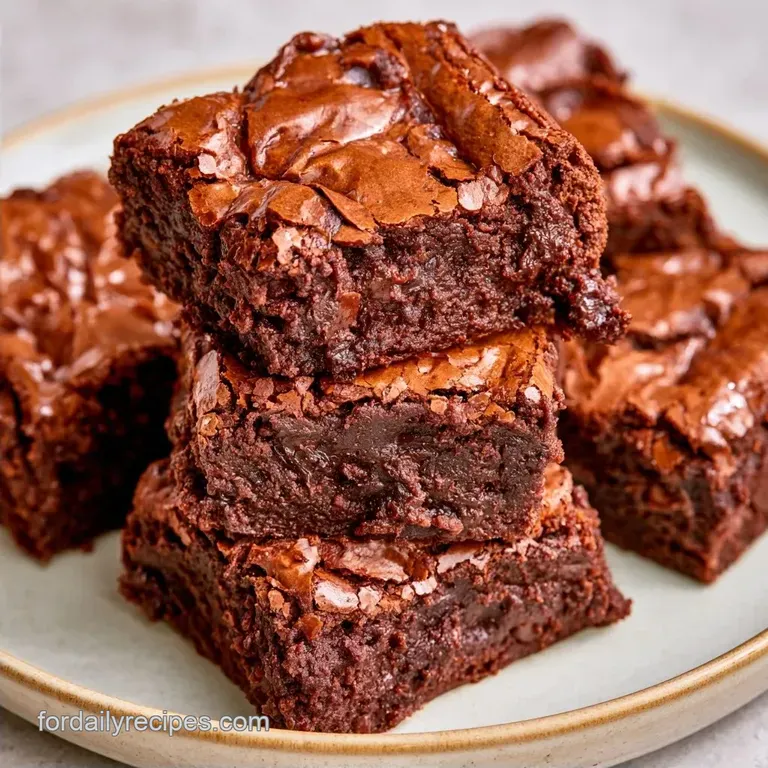
- Flavor/Texture Hook: Dense, fudgy center with a crackling top
- Perfect for: Low budget dessert cravings or pantry raid baking
Quick Recipe Specs
These brownies aren't a "pop in and eat" dessert. While the active work is fast, the cooling phase is where the magic happens. If you cut them while they're hot, the center will be too soft.
| Goal | What to change |
|---|---|
| Chewier bite | Use dark brown sugar |
| More richness | Add 1 tbsp melted butter |
| Lighter crumb | Increase baking powder by 1/4 tsp |
The total time of 1 hour 45 mins includes that crucial cooling window. This lets the grains fully hydrate and the fats set.
The Ingredient List
I prefer a straightforward list of ingredients. Choosing unsalted butter allows you to adjust the salt content, which is helpful since the bitterness of cocoa powder can vary.
| Ingredient | What It Does | Best Swap |
|---|---|---|
| Cream of Wheat | Builds a dense, fudgy consistency | Fine cornmeal (adds a hint of grit) |
| Unsweetened Cocoa | Creates the intense chocolate foundation | Melted dark chocolate (for extra richness) |
| Granulated Sugar | Produces the signature crackly top | Coconut sugar (for caramel notes) |
| Unsalted Butter | Adds moisture and richness | Coconut oil (dairy-free option) |
For the Chocolate Base
- 1/2 cup (115g) unsalted butter, melted Why this? Gives it a luxurious, melt-in-your mouth quality
- 1 cup (200g) granulated sugar Why this? Key to achieving that delicate, shattered crust
- 2 large eggs Why this? Binds the mixture and provides lift
- 1 tsp (5ml) vanilla extract Why this? Softens the intensity of the cocoa
For the Grain & Cocoa Mix
- 1 cup (150g) Cream of Wheat Why this? Ensures a dense, fudgy texture rather than a cakey one
- 1/3 cup (30g) unsweetened cocoa powder Why this? Delivers a deep, dark chocolate taste
- 1/4 tsp (1.5g) baking powder Why this? Prevents the brownies from becoming too heavy
- 1/4 tsp (1.5g) salt Why this? Enhances the chocolate's profile
For the Finishing Touch
- 1/2 cup (85g) semi sweet chocolate chips Why this? Creates gooey pockets of melted chocolate
| Original Ingredient | Substitute | Why It Works |
|---|---|---|
| Cream of Wheat | Almond Flour | Similar density. Note: Results in a moister, nuttier brownie |
| Semi sweet Chips | Chopped Walnuts | Adds a crunch. Note: Reduces the overall sweetness |
| Granulated Sugar | Maple Syrup | A liquid sweetener. Note: Texture is softer and lacks the crackle |
Tools You Need
No specialized equipment is necessary for this recipe. A few standard bowls and a whisk are all you'll need.
- 8x8 inch baking pan
- Parchment paper
- Large mixing bowl
- Whisk
- Rubber spatula
- Sifter or fine mesh strainer
I consider parchment paper essential here. It allows you to lift the entire slab out once cooled, making it easy to slice clean squares without struggling with the pan.
Step by step Process
Now, let's get started. The whisking stage is the most critical part. Be patient when adding the eggs to ensure you achieve that glossy finish.
1. Prepping the Pan and Oven
Preheat your oven to 175°C (350°F). Line an 8x8 inch pan with parchment paper, leaving a small overhang for easy removal.
2. Creating the Emulsion
Whisk the melted butter and sugar together in a large bowl. Beat in the eggs one at a time, whisking vigorously until the batter looks smooth and glossy. Stir in the vanilla.
3. Incorporating the Grains
Sift the Cream of Wheat, cocoa powder, baking powder, and salt into the bowl. Gently fold the mixture with a spatula until no dry streaks remain. Avoid overmixing to keep the texture correct.
4. Adding the Chips
Fold in the semi sweet chocolate chips. Be gentle so you don't deflate the air incorporated during the whisking process.
5. The Final Bake
Pour the batter evenly into the lined pan. Bake for 25–30 minutes until the edges have puffed slightly and the center barely wobbles when the pan is shaken.
6. The Critical Cooling Phase
Take them out of the oven and allow the brownies to sit in the pan for at least 1 hour. It's a difficult wait, but the structure needs this time to set.
Why the Texture Works
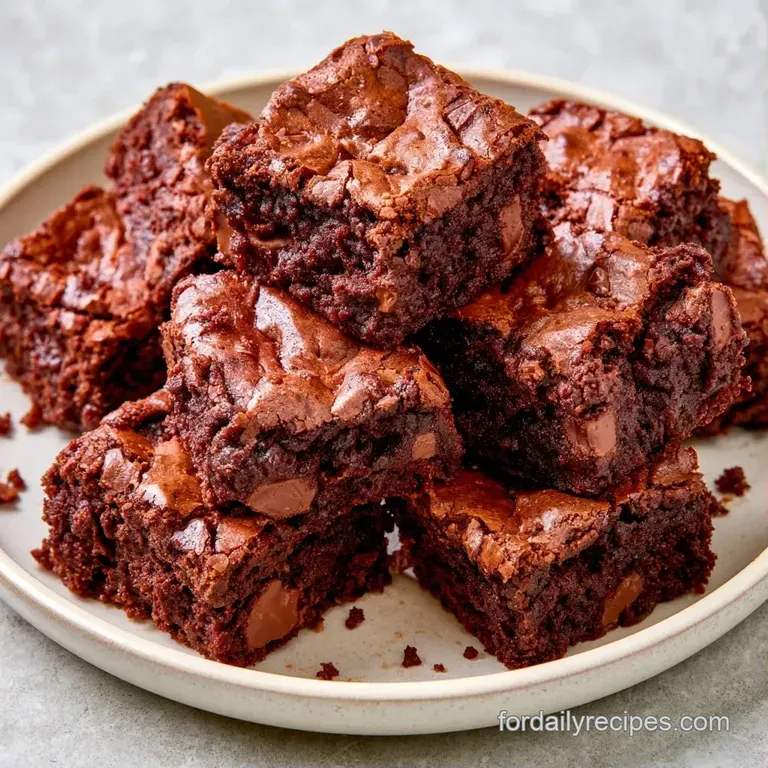
The reason these feel different from regular brownies is the grain. Since we're using farina, the moisture is absorbed more slowly than with wheat flour. If you enjoy other grain based treats, like my high fiber oatmeal, you'll recognize that hearty, satisfying weight.
Grain Absorption: The Cream of Wheat creates a tight, dense crumb that mimics a chocolate truffle. Sugar Ratio: High sugar combined with whisked eggs creates a thin, silky film on top that dries into a crisp crust.
| Method | Time | Texture | Best For |
|---|---|---|---|
| Oven Bake | 30 mins | Fudgy with crust | Classic brownies |
| Stovetop (Steamed) | 45 mins | Soft, pudding like | Cake like dessert |
Fixing Common Problems
Simple recipes can still have hiccups, and most problems usually stem from oven temperature or timing.
Fixing Dry Edges
If the edges have hardened while the middle remains raw, your oven may be running too hot. Next time, try using the center rack or check the pan 5 minutes sooner. You can soften overbaked edges by briefly pressing a damp paper towel over them.
Solving a Grainy Texture
A gritty consistency typically means the Cream of Wheat didn't hydrate sufficiently. This often happens if you slice the brownies while they are still warm. Be patient and let them cool for a full hour.
Handling a Flat Top
If you missed out on those classic cracks, you likely didn't whisk the eggs and sugar long enough. Beat the mixture until it is pale and glossy to trap the air required for that shatter effect.
Storage and Freezing
These keep remarkably well because of the density. They don't dry out as fast as cakey brownies.
Keep them in a sealed tub in the cooler for up to 5 days. If you're leaving them on the counter, they'll stay fresh for about 3 days in a cool spot.
For long term indulgence, wrap individual squares in foil and toss them in the freezer. They'll last 3 months. To eat one, let it thaw for 20 minutes or pop it in the microwave for 10 seconds. It restores that fresh baked feel without making them mushy.
As for zero waste, if you have a bit of batter left in the bowl, just plop it into a muffin tin for a single serve brownie treat.
Easy Flavor Variations
The base is rich enough to support a variety of bold mix-ins, making it easy to customize.
For a Nutty Crunch
Stir in 1/2 cup of toasted pecans or walnuts during the final step. This addition provides a nice textural contrast to the density. For another hearty, nutty option, try my rhubarb nut bread.
For a Salted Chocolate Twist
Immediately after baking, sprinkle a pinch of flaky sea salt over the top. The saltiness offsets the sugar and enhances the depth of the cocoa.
For a dairy-free Swap
Replace the butter with melted coconut oil for a similarly rich and fudgy result. To make the recipe completely vegan, use dairy-free chocolate chips.
Great Pairing Ideas
Because these are so indulgent, they pair beautifully with bright or acidic flavors that cut through the chocolate.
Classic Combinations
A chilled glass of almond milk or a dollop of unsweetened whipped cream is an ideal choice. The airiness of the cream balances the intensity of the dark chocolate.
For a Dessert Platter
Arrange a square alongside fresh raspberries or sliced strawberries; the tartness of the fruit prevents the brownies from feeling too heavy. If you are hosting guests, adding a small scoop of vanilla bean ice cream transforms this into an elegant plated dessert.
Recipe FAQs
Is it true that Cream of Wheat replaces flour perfectly in any baking recipe?
No, this is a common misconception. It provides a denser, fudgier structure than wheat flour.
Tip: Stick to the exact measurements to ensure the brownies set correctly.
How to get a glossy finish on these brownies?
Whisk the butter and sugar, then add eggs one by one, beating vigorously until smooth.
Tip: Room temperature eggs emulsify faster for a better shine.
Why do they need to cool for a full hour?
The structure sets as the fats and starches cool, preventing the brownies from falling apart.
Tip: Use the parchment overhang to lift the whole block out for cleaner cuts.
Which method is best for long term storage?
Wrap individual squares in foil and keep them in the freezer for up to three months.
Tip: For a different dessert style, try our homemade funfetti cupcakes.
Cream Of Wheat Brownies