Homemade Mayo Recipe: Heritage Technique
- Time: Active 5 minutes, Passive 0 minutes, Total 5 minutes
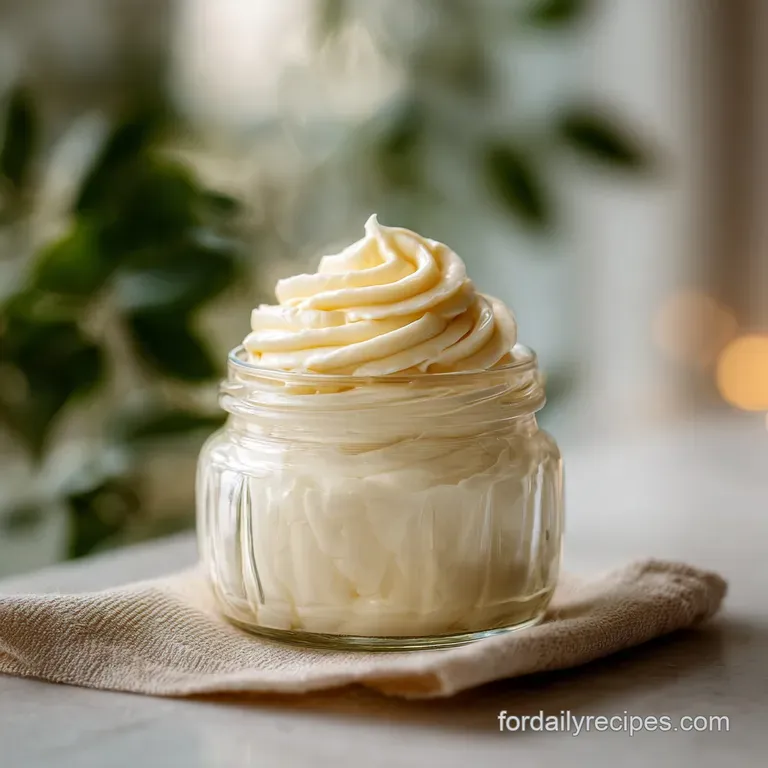
- Flavor/Texture Hook: Silky smooth, buttery, and tangier than any commercial alternative.
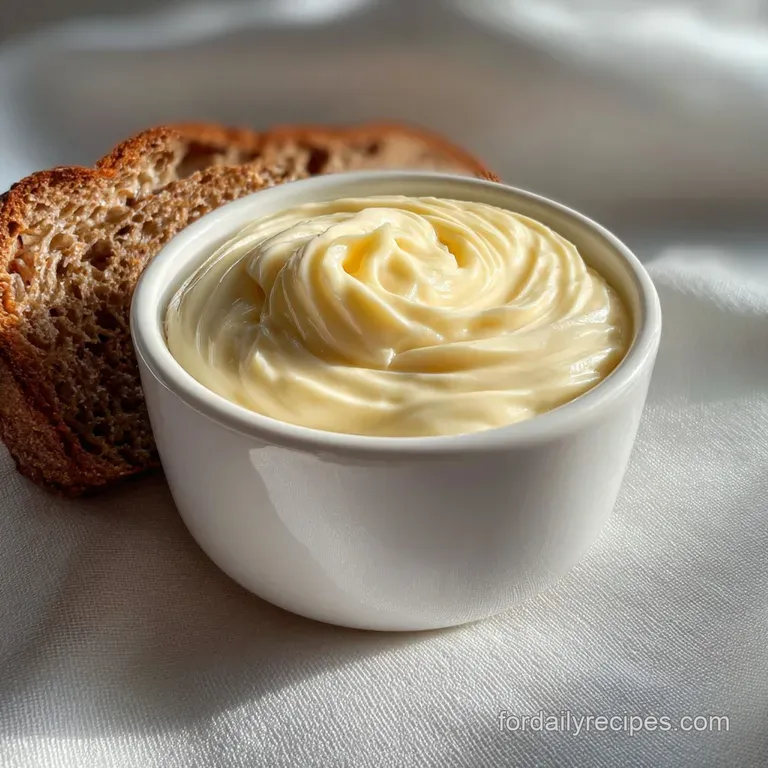
- Perfect for: Heritage style sandwiches, dipping, or as a base for scratch-made dressings.
- Achieve a Thick and Velvety Homemade Mayo Recipe
- The Science Explaining Why This Creamy Emulsion Works
- Official Recipe Specs and Exact Timing Guidelines
- The Essential Component Deep Dive for Success
- Selecting the Elements for Your Batch
- Crucial Tools for a Perfect Emulsion
- Bringing the Sauce to Life
- Troubleshooting Your Homemade Mayo Recipe
- Guidelines for Adjusting Batch Size
- Culinary Myths and Misconceptions
- Storage and Zero Waste Tips
- Creative Ways to Serve Your Batch
- Homemade Mayo Recipe FAQs
- 📝 Recipe Card
Achieve a Thick and Velvety Homemade Mayo Recipe
You know that specific, rhythmic whirring sound of an immersion blender? It starts as a high pitched buzz and then, as the oil catches, it drops into a thick, satisfying thrum. That's the moment the magic happens.
I remember the first time I tried making my own mayo, I was so nervous about it "breaking" that I barely breathed. But once that snowy, creamy cloud started swirling up from the bottom of the jar, I knew I could never go back to the shelf stable stuff.
This is about more than just a condiment, it's about reclaiming a bit of that kitchen heritage. My grandmother used to talk about the patience required for a hand whisked emulsion, but luckily for us, we have modern tools to achieve that same time honored richness in seconds.
There is a specific satisfaction in knowing every single ingredient in your jar, from the richness of the egg to the bright spark of the lemon.
If you have ever stared at a broken, oily mess and wondered where it all went wrong, you are in the right place. We are going to walk through the sensory cues, the little sounds and sights that tell you the emulsion is holding. Whether you need a base for a Big Mac Salad Recipe or just want something better for your turkey sandwich, this method is your new best friend.
The Science Explaining Why This Creamy Emulsion Works
Emulsification Mechanism: Lecithin, a phospholipid found in the egg yolk, acts as a molecular bridge that binds water based lemon juice to fat based oil. High speed blades create "shear force," breaking oil into microscopic droplets that the lecithin coats to prevent them from recombining.
Protein Denaturation: The small amount of acid from the lemon juice and Dijon mustard helps partially uncoil the egg proteins. This creates a more stable network that traps the oil droplets, resulting in a thicker, more spoonable texture that doesn't weep.
| Fresh vs Shortcut | Homemade Version | store-bought Jar | Impact on Final Dish |
|---|---|---|---|
| Primary Fat | Avocado Oil | Soybean or Seed Oil | Homemade is richer and avoids the "industrial" aftertaste found in jars. |
| Texture | Velvety and dense | Airy and gelatinous | Fresh mayo clings better to ingredients without feeling greasy. |
| Flavor Profile | Bright and zesty | Muted and sweet | Real lemon juice provides a sharp contrast to rich fats. |
The difference between a fresh emulsion and one that has been sitting on a grocery shelf for six months is truly night and day. When you make a fresh batch, the fats haven't had time to oxidize, keeping the flavor clean and the texture exceptionally smooth.
This is why heritage cooking always tastes better, it relies on the chemical freshness of the components rather than stabilizers and gums.
Official Recipe Specs and Exact Timing Guidelines
Before we start the blender, we need to look at the logistics of this process. Precision is our friend when we are dealing with fats and proteins. While it only takes about 5 minutes, those 5 minutes require your full attention to the visual cues of the emulsion.
| Servings | Ingredient Adjustments | Jar Size | Total Cook Time |
|---|---|---|---|
| 20 Servings | 1 Egg, 1 Cup Oil | 1 Pint (Wide Mouth) | 5 minutes |
| 40 Servings | 2 Eggs, 2 Cups Oil | 1 Quart (Wide Mouth) | 8 minutes |
| 10 Servings | 1/2 Egg (Whisked), 1/2 Cup Oil | Small Jam Jar | 5 minutes |
When you are scaling this up for a big family gathering, remember that the width of your container matters more than the height. If the jar is too wide, the blender blades won't be able to trap the oil effectively.
I always recommend using the tall, narrow cylinder that often comes with immersion blenders because it forces the oil through the blades at exactly the right rate.
The Essential Component Deep Dive for Success
The Emulsifiers
The egg is the heart of our homemade mayo recipe. It provides the lecithin necessary to hold the oil and water together. I cannot stress this enough: the egg must be at room temperature. A cold egg won't emulsify as easily because the fats in the yolk are more rigid.
If you're in a hurry, place the whole egg in a bowl of warm water for 5 minutes to take the chill off.
The Lipid Base
Avocado oil is the gold standard here because it is neutral and stays liquid in the fridge. While some people love the idea of olive oil, the high speed blades of a blender can actually make extra virgin olive oil taste incredibly bitter.
This is due to the release of polyphenols when the oil is agitated too aggressively. Stick with avocado oil for that silky, buttery finish.
| Ingredient | Science Role | Pro Secret |
|---|---|---|
| Egg Yolk | Primary Emulsifier | Use room temperature eggs to ensure the lecithin bonds instantly with the fat. |
| Avocado Oil | Lipid Structure | Keep the oil at the same temperature as the egg to prevent "thermal shock" breakage. |
| Dijon Mustard | Secondary Stabilizer | The mucilage in mustard seeds provides extra structural support for the oil droplets. |
A little bit of Dijon goes a long way. Beyond adding a nice punch of flavor, it acts as a backup emulsifier. If the egg yolk is struggling, the mustard helps keep everything cohesive. It's like an insurance policy for your sauce.
Selecting the Elements for Your Batch
Here is exactly what you will need from your pantry to get started.
- 1 large egg: Ensure it is room temperature. Why this? The lecithin is more active and soluble at room temperature than when cold.
- 1 tbsp Dijon mustard: Use a smooth variety. Why this? It acts as a chemical stabilizer and adds a sharp, traditional tang.
- 1/2 tsp fine sea salt: Avoid coarse grinds here. Why this? Fine salt dissolves quickly in the small amount of lemon juice available.
- 1 cup avocado oil: A neutral, healthy fat. Why this? It has a high smoke point and a very clean, buttery flavor profile.
- 1 tbsp fresh lemon juice: Not the bottled stuff. Why this? Fresh citric acid provides a brighter flavor and better protein denaturation.
- 1/4 tsp white pepper: For a clean look. Why this? It provides heat without the black specks, keeping the mayo looking snowy white.
If you find yourself without lemon juice, a high-quality white wine vinegar or apple cider vinegar works beautifully as a substitute. The acidity is what matters for the structure, though the flavor will shift slightly toward a more "deli style" profile.
Crucial Tools for a Perfect Emulsion
While I have made mayo with a whisk and a bowl, an immersion blender is the most reliable tool for this homemade mayo recipe. The way the blades are shielded creates a vacuum that pulls the oil down into the egg mixture at a controlled rate.
Chef Tip: If you don't have the specific jar that came with your blender, use a wide mouth Mason jar. The fit should be snug enough that the blender head almost touches the sides, which ensures no oil escapes the blades.
You will also want a set of glass measuring spoons and a liquid measuring cup. Precision in the ratio of oil to egg is what determines the final thickness. Too much oil and the emulsion collapses, too little and it will be runny like a dressing.
Bringing the Sauce to Life
- Prep the jar. Place the 1 large egg, 1 tbsp Dijon mustard, 1 tbsp lemon juice, 1/2 tsp sea salt, and 1/4 tsp white pepper into the bottom of a tall, narrow jar.
- Add the oil. Pour the 1 cup avocado oil carefully over the top. Note: Let it settle for a minute so the oil sits in a distinct layer above the egg.
- Position the blender. Lower the immersion blender all the way to the bottom of the jar, trapping the egg and seasonings under the blade head.
- Initiate the pulse. Turn the blender on high and hold it perfectly still for 15 to 20 seconds. Watch for the white cream to bloom at the bottom.
- Start the pull. Once a thick base has formed, very slowly tilt and lift the blender head. You will see the oil getting sucked down into the vortex.
- Incorporate the top. Continue moving the blender up and down gently until all the oil is fully integrated and the mixture is thick.
- Check the texture. The mayo should be stiff enough to hold its shape on a spoon. Note: If it feels too thin, keep blending for another 10 seconds to tighten it up.
- Taste and adjust. Give it a quick lick. It should taste bright, salty, and incredibly rich.
- Transfer for storage. Scrape the sides of the jar and move the mayo to a clean, airtight container.
This process is surprisingly fast once you get the hang of it. The first few times, I was tempted to move the blender too early. Resist the urge! Let that base form first, or you'll end up with a jar of flavored oil instead of a thick spread.
Troubleshooting Your Homemade Mayo Recipe
Fixing Broken or Runny Mayo
If your mixture looks like curdled milk or just refuses to thicken, don't panic. This usually happens if the oil was added too fast or the egg was too cold. You don't have to throw it away! Crack a fresh room temperature egg yolk into a clean jar and very slowly stream your broken mayo into it while blending.
It will reset the emulsion and save your ingredients.
Correcting a Bitter Aftertaste
If you used olive oil and it tastes metallic or bitter, there isn't much you can do to fix the batch, but you can mask it. Adding a bit of honey or extra lemon juice can balance the bitterness. Next time, try avocado oil or a "light" olive oil which has fewer bitter polyphenols.
| Problem | Root Cause | Solution |
|---|---|---|
| Thin/Runny | Oil added too fast | Add a fresh egg yolk to a new jar and slowly whisk in the runny mix. |
| Broken/Curdled | Temperature shock | Ensure all ingredients are at room temp before starting the process. |
| Oily Film | Under blended | Continue pulsing the blender until no visible oil streaks remain on top. |
Common Mistakes Checklist
- ✓ Using a cold egg straight from the fridge (this is the #1 cause of failure).
- ✓ Moving the immersion blender up and down immediately instead of letting the base form.
- ✓ Using a jar that is too wide, allowing the oil to bypass the blades entirely.
- ✓ Forgetting the mustard, which provides critical chemical stability to the mix.
- ✓ Using "extra virgin" olive oil, which often turns bitter when blended at high speeds.
Guidelines for Adjusting Batch Size
When you need to make a larger batch, don't just dump double the oil in at once. The ratio of emulsifier to fat is delicate. For a double batch, I actually recommend making two separate 1 cup batches or using a food processor with a very slow drip feed.
If you are scaling down, it's a bit tricky because half an egg is hard to measure. Whisk the egg in a small bowl first, then measure out exactly 2 tablespoons to use as your base. You'll also need a much smaller vessel, like a narrow jelly jar, so the blades can actually reach the ingredients.
Culinary Myths and Misconceptions
One common myth is that you must add oil drop by drop. While that is true for hand whisking, the immersion blender method allows you to add it all at once because the physical design of the tool controls the intake of oil. The blades only "see" a tiny bit of oil at a time at the bottom of the jar.
Another myth is that homemade mayo is "unsafe" because of raw eggs. In reality, the acid from the lemon juice or vinegar creates an environment that is hostile to most bacteria. However, if you are concerned, you can always use pasteurized eggs found at most grocery stores.
They work exactly the same way and provide total peace of mind for the family.
Storage and Zero Waste Tips
Store your fresh mayo in a glass jar in the coldest part of your fridge. Because it lacks the heavy preservatives of the commercial stuff, it will last about 5 to 7 days. You'll know it's starting to turn if it begins to smell overly sour or if the oil starts to separate and pool on top.
For a zero waste kitchen, don't toss that leftover egg white! Save it in a small container in the fridge for your morning omelet or use it to make a small batch of meringues. If you have a tiny bit of mayo left in the jar that you can't scrape out, toss in some herbs and a splash of vinegar, give it a shake, and you've got a creamy salad dressing ready to go.
Creative Ways to Serve Your Batch
This homemade mayo recipe is a fantastic base for so many things. I love folding in a bit of crushed garlic and a pinch of smoked paprika to make a quick aioli. It also makes the most incredible dipping sauce for my crispy French Fried Onions recipe. The creaminess of the mayo cuts through the salt and crunch of the onions perfectly.
If you are feeling adventurous, try adding some chopped capers and dill for a quick tartar sauce, or a spoonful of sriracha for a spicy kick. This is the beauty of scratch cooking you aren't stuck with one flavor profile. You can adapt it to whatever heritage dish you are serving that night.
It's thick, it's rich, and it's exactly how food was meant to taste.

Homemade Mayo Recipe FAQs
How do you make your own mayonnaise?
Start by combining egg yolk, Dijon mustard, salt, lemon juice, and white pepper in a jar. Then, pour avocado oil over the top, ensuring the oil creates a distinct layer.
Lower an immersion blender to the bottom of the jar, pulse, and then slowly lift the blender as the emulsion forms until all oil is incorporated and the mixture is thick.
What are the ingredients used for mayonnaise?
The core ingredients are egg yolk, a neutral oil like avocado oil, an acid such as lemon juice or vinegar, and salt. Dijon mustard is often included as a stabilizer and for flavor, along with a touch of white pepper to maintain a clean color.
What is the formula for mayonnaise?
The fundamental formula relies on an emulsifier (egg yolk) binding fat (oil) with water based ingredients (lemon juice, vinegar). Lecithin in the egg yolk acts as the bridge, and high speed blending creates microscopic oil droplets coated by lecithin, forming a stable emulsion.
How to safely make mayo at home?
Use pasteurized eggs if you have concerns about raw eggs. The acidity from lemon juice or vinegar in the recipe creates an environment that is hostile to most bacteria, making homemade mayo generally safe when made with fresh ingredients and stored properly in the refrigerator for up to a week.
Can I use olive oil for homemade mayo?
It's best to use a neutral oil like avocado oil for the smoothest flavor. While you can use olive oil, the high speed of a blender can make extra virgin olive oil taste bitter due to its high polyphenol content; a light olive oil is a better option if you prefer it.
What if my mayonnaise breaks?
Don't discard it; you can usually fix broken mayo by starting with a fresh egg yolk. Crack a new room temperature egg yolk into a clean jar and slowly stream the broken mixture into it while blending, which helps to re-establish the emulsion.
How long does homemade mayonnaise last?
Homemade mayonnaise typically lasts about 5 to 7 days when stored in an airtight container in the refrigerator. Always check for an overly sour smell or oil separation, which indicates it's starting to spoil.
Homemade Mayo Recipe

Ingredients:
Instructions:
Nutrition Facts:
| Calories | 101 kcal |
|---|---|
| Protein | 0.3 g |
| Fat | 11.2 g |
| Carbs | 0.1 g |
| Fiber | 0 g |
| Sugar | 0.1 g |
| Sodium | 69 mg |
