Sugar Cookie: the Perfect No-Spread Cutout Recipe
- Setting the Stage for the Best Sugar Cookie Recipe
- The Science of a No-Spread Cookie Dough
- Detailed Guide to Your Cookie Baking Essentials
- Mastering the Cut-Out Process: Step-by-Step
- Troubleshooting and Expert Baking Advice
- Shelf Life and Preparing the Dough Ahead
- Creative Ways to Decorate and Present Your Classic Dessert
- Recipe FAQs
- 📝 Recipe Card
Setting the Stage for the Best Sugar Cookie Recipe
That glorious moment when a batch of cookies comes out of the oven, smelling of pure vanilla and caramelized sugar? That aroma is instant happiness, honestly. We are talking about the ultimate classic: the beautiful, reliable Sugar Cookie .
This specific recipe is a lifesaver because the ingredients are cheap, you probably already have them lurking in your pantry, and the dough can sit happily in the fridge for days. Need a perfect, last minute edible gift or centerpiece? Done.
But let’s be real nothing is more annoying than a cut-out cookie that spreads into a messy, vague blob. I'm sharing every single trick I learned (mostly through frustrating trial and error) to ensure your classic Sugar Cookie holds its shape perfectly for decorating.
This is the Best Homemade Sugar Cookie Recipe you will find. Let's crack on!
The Science of a No-Spread Cookie Dough
If you want those sharp edges you see on professional bakery cookies, you have to understand the dough. The secret to baking a perfect, non-spreading cut-out cookie is temperature control and precise ingredient ratios.
We are deliberately limiting liquid, keeping the fat cold, and avoiding ingredients that encourage puffing and spreading.
What Makes a Cut-Out Cookie 'Perfect'?
A perfect cut-out cookie should be structurally sound, tasting rich and tender, not tough or brittle. It requires a slightly higher ratio of flour to fat and less leavening (we skip baking soda entirely, which causes vertical rise and horizontal spread).
This process ensures that when the fat melts in the oven, the flour and sugar structure has already stabilized, resulting in crisp edges perfect for decoration. This specific Sugar Cookie recipe is designed to be the ultimate edible canvas.
Essential Equipment for Achieving Crisp Edges
You don't need fancy gadgets, but a good stand mixer helps immensely when creaming the butter and sugar. Trust me, parchment paper is non-negotiable. It prevents sticking and helps insulate the bottom of the dough, promoting even baking.
An adjustable rolling pin is also brilliant because it guarantees you hit that crucial 1/4 inch thickness every single time.
Navigating the Medium Difficulty Level
Yes, a Sugar Cookie sounds basic, but precision is key here, moving it beyond beginner territory. Overmixing the flour or rushing the chilling steps are the two places where 90% of home cooks fail. If you follow the temperature rules, it becomes surprisingly simple.
The Role of Cold Butter and Precise Flour Measurement
We use cold, cubed butter in this recipe, not softened, room temperature butter. This sounds counterintuitive to the traditional creaming method, but starting with cold butter means the mixer incorporates tiny air pockets, creating structure without over developing the gluten.
Next,, weighing your flour is the number one thing you can do to guarantee success. Too much flour means tough cookies; too little means inevitable spreading, ruining your beautiful Sugar Cookies For Decorating .
Achieving Tender Crumble vs. Tough Chewy Texture
Tough cookies are born from overmixing. That's the simple truth. When you add the flour, you need to mix it only until no dry streaks remain literally just 15 to 20 seconds on low speed.
Stopping early preserves the dough’s tenderness, ensuring a lovely, soft crumb when you bite into the finished Sugar Cookie .
Why Chilling Time is Non-Negotiable
This is my mantra: Chill the dough, chill the cut-outs, chill your life. The initial 60 minute chill solidifies the fat, making the dough manageable for rolling and cutting.
The second, 10 minute freezer chill after cutting is the genius move it ensures the butter is rock solid right before hitting the heat, preventing immediate melting and guaranteed no-spread edges.
Detailed Guide to Your Cookie Baking Essentials
Baking is chemistry, and the quality of your ingredients absolutely matters. Here’s what you need to know about the essentials for the Best Sugar Cookie Recipe Cutout .
Selecting the Right Type of Granulated Sugar
We are sticking strictly to standard granulated sugar for this classic Sugar Cookie base. It provides the crispness we want, whereas using brown sugar would add moisture and softness, making the cookies spread more easily (like my favorite [Chocolate Chip Cookies: The Ultimate Chewy Bakery Style Recipe]).
Flour Power: Weighing vs. Scooping
As mentioned, weigh the flour if you can (360g). If you must use cup measurements, spoon the flour lightly into the measuring cup, then level it off with a knife. Do not scoop the cup directly into the flour bag.
That single action can add up to 25% extra flour, and your dough will be dry, crumbly, and taste like cement dust.
Making Easy Swaps: Dairy vs. Non-Dairy Fat
| Ingredient | Standard Ingredient | Substitution Note |
|---|---|---|
| Fat | Cold Unsalted Butter | Use vegetable shortening (Crisco). It has a higher melting point, resulting in even less spread, but the flavor won't be as rich. |
| Vanilla | Pure Vanilla Extract | Use Almond Extract (1/2 tsp only!) for a classic bakery flavour punch. |
| Egg | Large Egg | For a vegan option, use a flax egg (1 tbsp ground flax + 3 tbsp water, rested 5 mins). |
Flavor Enhancers: Vanilla Extract and Salt
Don't skimp on the vanilla! I use pure vanilla extract, and two teaspoons give a lovely warmth that defines the Sugar Cookie flavor profile. The fine sea salt isn't just for taste; it helps control the rise and provides crucial balance against the intense sweetness of the sugar.
Mastering the Cut-Out Process: step-by-step
This process is broken down into manageable stages. Focus on temperature and timing, and you’ll succeed.
Mixing the Perfect Dough: The Creaming Method
First, whisk your dry ingredients (flour, baking powder, salt) together; this ensures even distribution. Next, cream the cubed cold butter and sugar for a solid 3– 4 minutes until they are light and fluffy. This builds the structure.
Once that’s done, beat in the room temperature egg and vanilla. Finally, add the dry mixture on low speed, mixing only until a shaggy dough forms and no dry streaks remain. This is the single most important step for tender cookies.
How to Roll and Chill Dough Without Sticking
I always divide the dough in half before chilling. It makes rolling much easier later. Roll the disk between two pieces of parchment paper instead of directly on a floured surface. This prevents adding excess flour and makes transferring the dough to the fridge a breeze.
Chill that wrapped disk for at least one hour; cold dough is happy dough.
Optimal Baking Time for Crisp, Pale Edges
We want the cookies to be just barely done. Preheat to 350°F (175°C). Bake the cut-outs for 8– 10 minutes. Look for the edges to turn a very pale gold, but the centers should still look soft and slightly underdone.
If they brown too much, they will be too crisp and potentially tough.
Cooling and Handling Delicate Shapes
Leave those delicate shapes on the baking sheet for 5 minutes after they come out of the oven. This crucial resting time allows the hot butter to solidify slightly, stabilizing the cookie structure. If you try to move them too soon, heads, legs, or star points will snap off.
After 5 minutes, slide them onto a wire rack to cool completely before even thinking about adding icing or glaze.
Troubleshooting and Expert Baking Advice
I’ve made every mistake possible while trying to nail down this Sugar Cookie recipe, so you don't have to. Here are the fixes for common pitfalls.
Why Your Dough Crumbles (And How to Fix It)
If your dough is too dry and crumbly right out of the mixer, you added too much flour probably by scooping instead of spooning and leveling. If it crumbles as you try to roll it, it's too cold.
Let it rest on the counter for 5– 10 minutes to warm up slightly before attempting to roll again.
Preventing Misshapen Cookies in the Oven
This always goes back to temperature. Did you skip the initial chill? Did you place cold dough on a warm baking sheet? Always use cool or room temperature baking sheets. If you are baking in batches, slide your unused dough back into the fridge while the current batch is in the oven.
Temperature control is the only way to guarantee a perfect Sugar Cookie shape.
Re-Rolling Scraps Efficiently
You will have dough scraps left over. Gather them gently don't aggressively knead them and press them into a new disk. Wrap them up and place them back in the fridge for 15 minutes. This gives the gluten a chance to relax.
If you try to roll them immediately, they will be elastic and tough.
Shelf Life and Preparing the Dough Ahead
The beauty of this dough is its make-ahead potential. It really makes batch baking easy.
How to Freeze Unbaked Dough Logs Safely
You can prepare the dough two days ahead and keep it tightly wrapped in the fridge. For longer storage, shape the dough into tight 2 inch diameter logs, wrap them in plastic wrap, and then slide the logs into a zip-top freezer bag. Frozen dough logs will last up to 3 months.
When you want to bake, thaw the log overnight in the fridge before slicing or rolling.
Storing Fully Baked Cookies for Freshness
Once the Sugar Cookies are completely cool and decorated, they should be stored in an airtight container at room temperature. They stay perfectly fresh and delicious for 5 7 days. If you stack them, place a piece of parchment or wax paper between layers, especially if they are iced.
The Best Way to Thaw and Bake from Frozen
If you froze cut-out shapes (my favorite time saver!), you can bake them directly from frozen. No need to thaw! Just add 2– 4 minutes to the total baking time. This is a game changer when you need a quick batch.
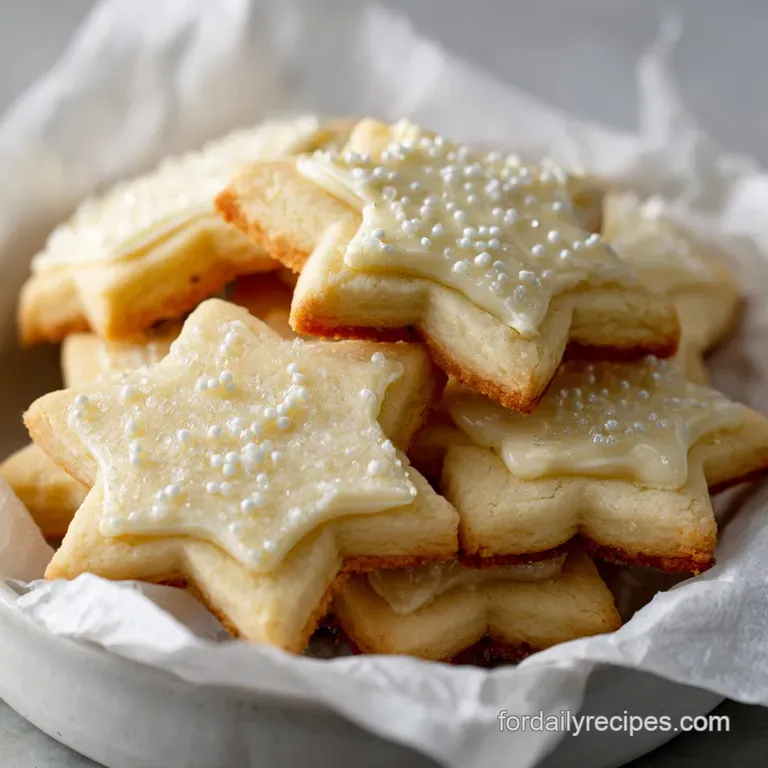
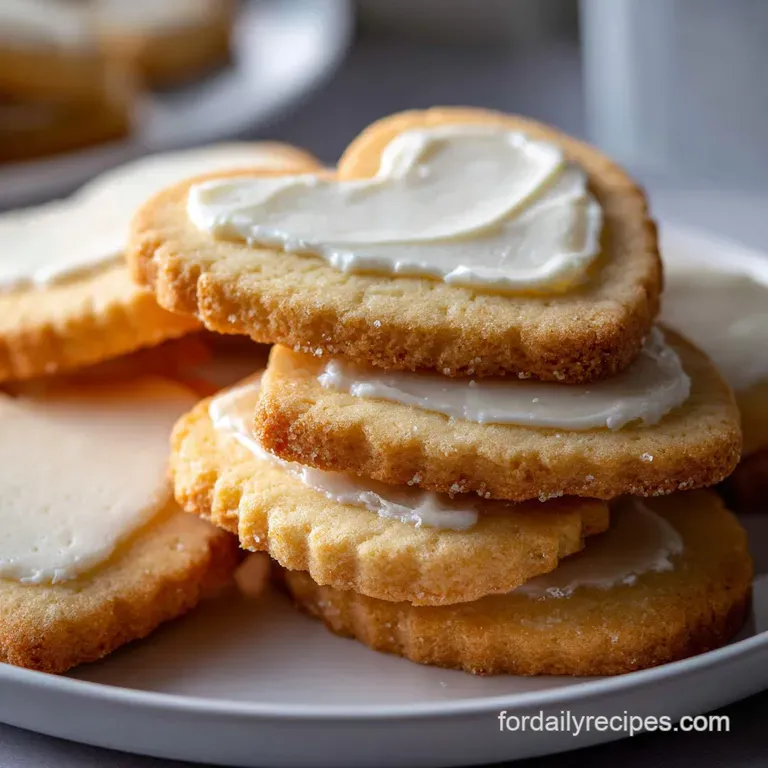
Creative Ways to Decorate and Present Your Classic Dessert
Once you have achieved that perfect, crisp edged Sugar Cookie , the fun begins.
Chef's Note: If you want a fun, non-cutout alternative that requires zero chilling, try my [Snickerdoodle Cookies: Classic Chewy Recipe with Perfect Tang] next time!
Royal icing is the traditional partner for these cookies because it sets hard and glossy, allowing for detailed work. Alternatively, a simple powdered sugar glaze (powdered sugar + milk + vanilla) works quickly for a rustic, sweet finish. Sprinkle immediately with sanding sugar or nonpareils before the glaze sets.
No matter how you finish them, mastering the crisp, buttery Sugar Cookie base is the greatest reward. Enjoy every bite!

Recipe FAQs
Why did my cut-out cookies spread and lose their shape?
Spreading usually happens if your butter was too warm when mixing, or if you skipped the critical chilling steps. Ensure your butter is slightly cool to the touch (not room temperature soft), and always chill the dough for at least 60 minutes before rolling.
For extra sharp edges, chill the cut-out shapes again briefly before they go into the hot oven.
How critical is the chilling time mentioned in the recipe?
Chilling is absolutely non-negotiable for successful cut-out cookies; it serves two essential purposes. Firstly, it solidifies the fat, which prevents the cookies from spreading when they hit the oven heat. Secondly, it allows the gluten formed during mixing to relax, resulting in a more tender cookie texture.
My baked sugar cookies turned out tough and dry. What went wrong?
Toughness is usually caused by over mixing the dough after the flour is incorporated, as this over develops the gluten. Dryness is often the result of adding too much extra flour while rolling or simply over baking the cookies.
Always stop mixing as soon as the flour disappears, and roll the dough between parchment sheets to minimize added flour.
Can I make these sugar cookies vegan or dairy-free?
Yes, you can substitute the unsalted butter with an equivalent amount of high-quality, solid vegan butter sticks or baking shortening. Avoid tub margarines, which have too high a water content and will destabilize the dough, leading to spreading.
If the recipe calls for eggs, use a commercial egg replacement or a flax egg alternative.
What is the best way to store the dough or freeze the finished cookies?
The raw dough can be wrapped tightly and frozen for up to three months; thaw it overnight in the refrigerator before rolling. Baked and cooled cookies can be layered between parchment paper in an airtight container and frozen for up to six weeks.
Allow the frozen cookies to fully thaw at room temperature before decorating.
How can I roll the dough to a perfectly uniform thickness?
The easiest method is to roll the dough between two sheets of lightly floured parchment paper or silicone baking mats. For precise consistency, use a rolling pin equipped with thickness rings or two wooden dowels placed on either side of the dough as guides. This ensures all cookies bake evenly and look professional.
Can I use brown sugar instead of granulated white sugar for these cut-outs?
While you can certainly try, brown sugar contains molasses and moisture, which causes cookies to spread more readily and results in a softer, chewier texture. Sticking strictly to granulated white sugar is essential for achieving the crisp edges and sharp, no-spread shape required for perfect cut-out cookies.
Perfect No Spread Sugar Cookie

Ingredients:
Instructions:
Nutrition Facts:
| Calories | 423 kcal |
|---|---|
| Protein | 11.0 g |
| Fat | 12.0 g |
| Carbs | 63.0 g |
