Homemade Almond Milk: Silky & Nutty
- Time: Active 15 minutes, Passive 8 hours, Total 8 hours 15 minutes
- Flavor/Texture Hook: Silky, nutty, and subtly sweet
- Perfect for: Daily coffee, dairy-free baking, and wholesome meal prep
- Making Almond Milk: A Wholesome Kitchen Essential
- Why This Nut Milk Works
- Vital Ingredients and Smart Subs
- Essential Tools for Nut Milk
- The Step-By-Step Straining Process
- Fixes for Separation and Bitterness
- Flavor Variations for Your Milk
- Storage and Pulp Waste Tips
- Serving Your Fresh Almond Milk
- Almond Milk FAQs
- 📝 Recipe Card
Making Almond Milk: A Wholesome Kitchen Essential
Ever looked at the back of an Almond Milk carton and wondered why there are six different gums and thickeners listed? I did, and it felt wrong. When I first tried to make my own, I ended up with a gritty, watery mess that separated the second it hit my mug.
It was frustrating, but it taught me that the secret isn't just about the blender; it’s about the hydration of the nut and the precision of the strain.
We aren't just making a drink here; we’re creating a clean, plant forward base for everything from morning oats to your favorite smoothies. If you've been hesitant because you think it's messy or time consuming, trust me, the flavor of fresh milk is a total game changer.
Once you taste the difference between a homemade batch and the shelf stable stuff, there is no going back.
Right then, let's talk about the process. We are going to use raw almonds to ensure we get the most creamy, wholesome result possible. It’s about being mindful of what we put in our bodies while keeping things budget friendly by using pantry staples. This recipe is the foundation for so many other dairy-free treats, much like the base of my Coconut Ice Cream recipe.
Why This Nut Milk Works
The success of this recipe relies on two main factors: hydration and mechanical force. When you soak the almonds, you aren't just softening them; you are activating enzymes and making the proteins more accessible for blending. This leads to a much more stable liquid that doesn't feel thin or "skimmed."
- Emulsification: High speed blending forces the almond fats to disperse into the water, creating a temporary stable suspension.
- Starch Gelatinization: While we don't cook the milk, the fine particles of almond starch provide a "mouthfeel" that mimics the viscosity of dairy.
- Cellular Breakdown: The blade shatters the rigid cell walls of the almond, releasing the creamy oils that define the flavor.
| Method | Time | Texture | Best For |
|---|---|---|---|
| Classic Soak | 8 hours | Velvety and rich | Daily drinking and coffee |
| Flash Soak | 15 minutes | Slightly thinner | Last minute baking needs |
| No Soak | 2 minutes | Grittier | Smoothies with high fiber |
Choosing the right method depends on your schedule, but for the most wholesome and smooth result, the classic soak is the winner. It allows the almonds to fully expand, which makes the straining process much more efficient.
Vital Ingredients and Smart Subs
The beauty of this recipe lies in its simplicity. We only need three items to create something far superior to anything in a plastic bottle. I always recommend buying your nuts in the bulk section to keep the cost down and ensure they are as fresh as possible.
| Component | Science Role | Pro Secret |
|---|---|---|
| Raw Almonds | Provides fats and proteins | Use unpasteurized for better creaminess |
| Filtered Water | The carrier for flavor | Cold water keeps the milk fresh longer |
| Sea Salt | Enhances natural sweetness | Use fine grain to dissolve instantly |
Ingredients List:1 cup (145g) raw unpasteurized almonds: Why this? Raw nuts provide the necessary fats for a creamy emulsion without roasted flavors.4 cups (950ml) filtered water: Why this? high-quality water
ensures no chlorine aftertaste in your finished milk. 1/8 tsp fine sea salt: Why this? A tiny amount balances the nuttiness and acts as a natural preservative.
| Original Ingredient | Substitute | Why It Works |
|---|---|---|
| Raw Almonds | Raw Cashews | No straining required. Note: Result is much creamier but higher in fat. |
| Filtered Water | Coconut Water | Adds natural electrolytes. Note: Will change the flavor profile significantly. |
| Sea Salt | Pink Himalayan Salt | Same mineral boost. Note: Use slightly more as it is less "salty" by volume. |
Using high-quality ingredients is a necessity for a recipe this simple. When you strip away the fillers, the quality of your water and nuts truly takes center stage.
Essential Tools for Nut Milk
You don't need a professional kitchen, but having a high speed blender makes a massive difference in the "shatter" of the nuts. If you only have a standard blender, you'll just need to blend for an extra minute or two to ensure every bit of the almond is pulverized.
A nut milk bag is the gold standard for straining, but in a pinch, I've used a clean flour sack towel or even a double layer of cheesecloth. The goal is to remove all the solid bits so you're left with a silky, velvety liquid that doesn't leave a film on your tongue.
Chef Tip: Freeze your almonds for 10 minutes before blending if you want a super chilled milk right out of the gate. It prevents the blender motor from warming up the liquid!
The step-by-step Straining Process
1. The Long Soak
Place your 1 cup (145g) raw unpasteurized almonds in a bowl and cover with plenty of water. Let them sit for at least 8 hours at room temperature. Note: You'll see the almonds plump up and the skins start to loosen.
2. Rinse and Drain
Discard the soaking water and rinse the almonds under cold water until the water runs clear. Note: This removes the phytic acid and any bitterness from the skins.
3. High Speed Blending
Combine the soaked almonds, 4 cups (950ml) filtered water, and 1/8 tsp fine sea salt in your blender. Note: Start on low and gradually increase to the highest speed.
4. Pulverize Thoroughly
Blend for 60 secondsuntil the liquid is white and frothy. Note: You shouldn't see any large chunks of nuts spinning around.
5. Set Up Straining
Place a nut milk bag or cheesecloth over a large bowl or pitcher. Note: Ensure the bowl is stable so it doesn't tip over during the squeeze.
6. The First Pour
Slowly pour the blender contents into the bag. Wait for the initial gravity strain before you start squeezing.
7. Squeeze and Extract
Gather the top of the bag and use your hands to squeeze the liquid out. Work from the top down until the pulp inside feels dry and crumbly.
8. Final Bottling
Pour the finished Almond Milk into a glass jar or bottle. Note: Glass is best for maintaining a clean, fresh taste.
9. Chill and Settle
Place the bottle in the fridge for at least 1 hour before serving. Note: Homemade milk will naturally separate, so just give it a shake before pouring.
Fixes for Separation and Bitterness
It is totally normal for your homemade milk to separate into a creamy top layer and a more watery bottom layer. This happens because we aren't using chemical emulsifiers like lecithin. A quick shake of the bottle brings it all back together in seconds.
Why Your Milk Tastes Bitter
If your milk has a sharp, unpleasant finish, it usually comes down to the quality of the nuts or an incomplete rinse. Old almonds can go rancid quickly, and that oil spoilage will ruin the whole batch.
| Problem | Root Cause | Solution |
|---|---|---|
| Gritty Texture | Bag weave is too loose | Double up the cheesecloth or use a finer bag. |
| Gray Color | Skins weren't rinsed | Thoroughly rinse after the long soak. |
| Thin/Watery | Too much water used | Reduce water to 3 cups for a richer "creamer" style. |
Common Mistakes Checklist:
- ✓ Using roasted almonds instead of raw (makes the milk taste like peanut butter).
- ✓ Skipping the rinse after soaking (leaves bitter tannins in the milk).
- ✓ Not squeezing the bag hard enough (leaves the best fats in the pulp).
- ✓ Forgetting the salt (the milk will taste flat and dull).
- ✓ Using tap water with high chlorine (affects the delicate nut flavor).
Flavor Variations for Your Milk
Once you've mastered the basic version, you can start getting creative. I love adding a splash of vanilla extract or a couple of pitted dates for a hint of sweetness. If you want something truly decadent, imagine using this fresh milk in a Peach Ice Cream Recipe — it adds a lightness that heavy cream sometimes masks.
For a Golden Turmeric Latte Base
Add 1/2 tsp turmeric, a pinch of black pepper, and 1 tsp ginger to the blender. This creates a vibrant, anti inflammatory milk that is incredible when warmed up.
For an Ultra Rich Creamer
Reduce the filtered water from 4 cups down to 2 cups. This creates a concentrated version that has a much higher fat content, perfect for whisking into hot coffee or tea without it looking "watery."
For Custom Coffee Shop Microfoam
If you want to froth this milk, add 1 tsp of neutral oil (like grapeseed) to the blender. The extra fat helps the air bubbles stabilize, giving you that velvety foam you usually only get at a café.
Storage and Pulp Waste Tips
Homemade milk is fresh and lacks preservatives, so it won't last for weeks like the store-bought stuff. Keep it in the coldest part of your fridge and use it within 4 days. If it starts to smell sour or the bottle builds up pressure, it’s time to toss it.
Zero Waste Almond Pulp: Don't you dare throw that pulp away! It’s basically almond meal. I spread it out on a baking sheet and dry it in a low oven (about 90°C) for 2 hours. Once it's dry, you can pulse it in a food processor to make almond flour.
It's perfect for gluten-free baking or adding fiber to your morning smoothies.
You can also freeze the milk in ice cube trays. These are brilliant for dropping into hot coffee they cool the drink down without diluting it. Frozen milk cubes stay good for about 3 months in a sealed bag.
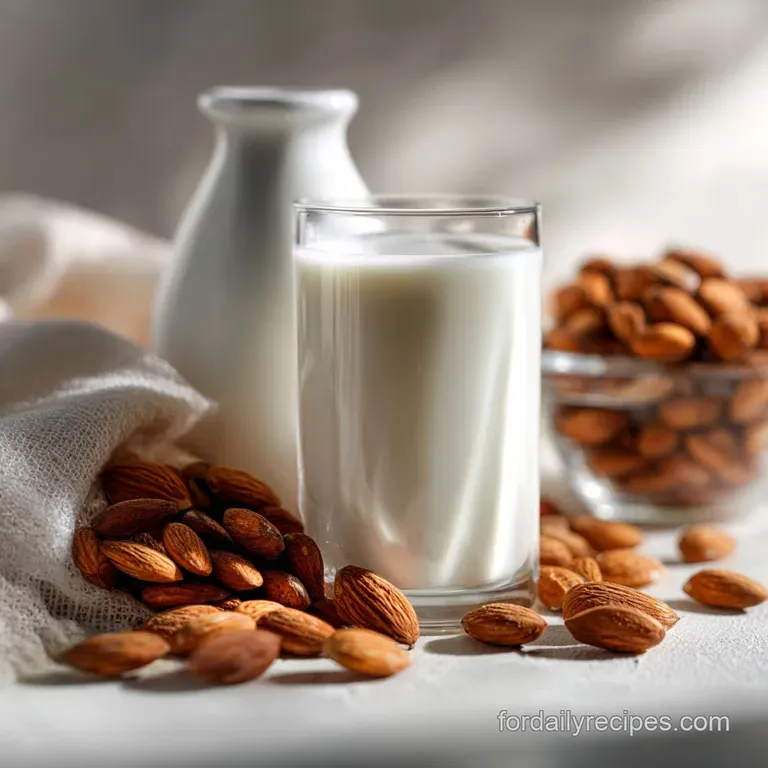
Serving Your Fresh Almond Milk
Presentation matters, even for something as simple as milk. I love storing mine in vintage style glass milk bottles with a ceramic swing top. It looks beautiful on the breakfast table and keeps the milk perfectly airtight.
When serving, remember that this milk is best enjoyed cold. If you're pouring it into hot coffee, try warming the milk slightly first. Adding ice cold homemade milk to boiling coffee can cause the proteins to "shock" and clump slightly. It's not spoiled, just a bit of chemistry!
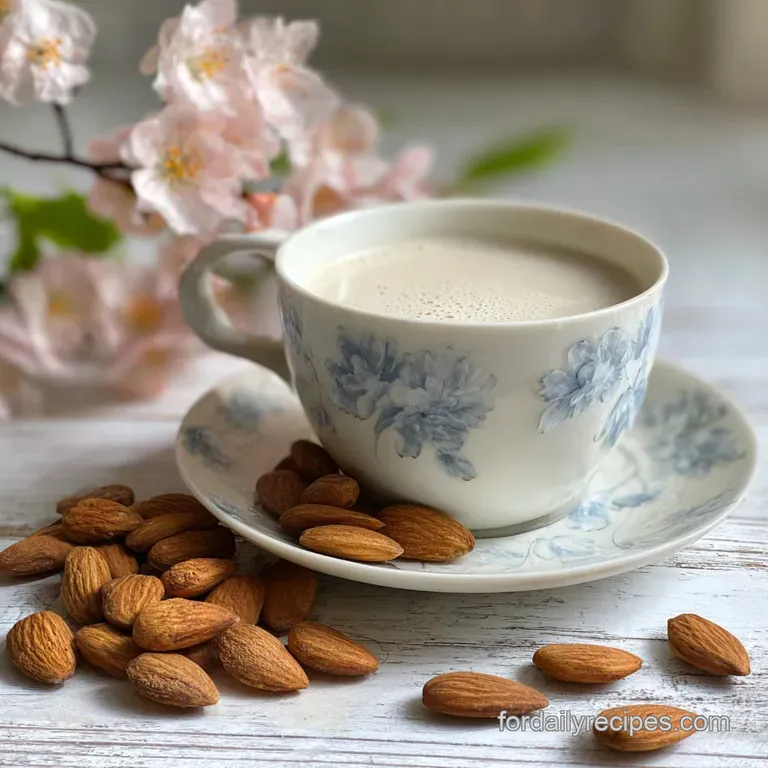
If you're feeling fancy, serve a tall glass of this milk alongside a warm treat. It provides a clean, refreshing contrast to richer desserts. It’s a wholesome necessity that makes every meal feel a little more intentional and a lot more flavorful. Trust me, your morning routine is about to get a serious upgrade.

Almond Milk FAQs
How do they make almond milk?
Soak raw almonds, blend with water, then strain. Raw almonds are soaked to soften them, then blended with filtered water and a pinch of salt until smooth. The mixture is then strained through a nut milk bag or cheesecloth to separate the liquid milk from the pulp.
Is it worth making your own almond milk?
Yes, for superior taste and control. Homemade almond milk has a fresher, cleaner flavor without added gums or thickeners found in many store-bought versions. You also have complete control over the ingredients.
How much almond milk does 1 cup of almonds make?
Approximately 4 cups. Using a standard ratio of 1 cup of raw almonds to 4 cups of water typically yields about 4 cups of almond milk. This ratio can be adjusted for a richer or thinner consistency.
Is it actually cheaper to make your own almond milk?
Yes, especially when buying almonds in bulk. While the initial cost of almonds might seem high, the per-cup cost of homemade almond milk is generally less than buying pre-packaged cartons, particularly if you purchase nuts in larger quantities.
Why does homemade almond milk separate?
It's a natural process due to the absence of stabilizers. Unlike commercial almond milk which often contains emulsifiers and gums, homemade versions lack these additives. This causes the fat and water components to naturally separate over time; a simple shake before use re-emulsifies it.
Can I use roasted almonds to make almond milk?
No, stick with raw almonds for the best flavor and texture. Roasted almonds will impart a cooked, nutty flavor that isn't ideal for milk and can result in a less creamy, slightly gritty texture. Raw almonds yield a cleaner, sweeter milk.
How long does homemade almond milk last?
About 4-5 days in the refrigerator. Because it contains no preservatives, homemade almond milk is perishable. Always store it in an airtight container in the coldest part of your fridge and discard if it smells sour or develops off-flavors.
Homemade Almond Milk

Ingredients:
Instructions:
Nutrition Facts:
| Calories | 60 kcal |
|---|---|
| Protein | 1.6 g |
| Fat | 5.2 g |
| Carbs | 1.8 g |
| Fiber | 0.8 g |
| Sugar | 0.1 g |
| Sodium | 73 mg |
