Gluten Free Pizza Dough: Psyllium Husk Method
- The Pursuit of the Perfect Crust: Redefining Gluten-Free Pizza
- The Alchemy of Psyllium: Achieving a Superior Dough Structure
- Essential Components for Your Artisan Crust
- The Chef's Guide to Preparing This Gluten-Free Pizza Dough
- Troubleshooting Your Pizza Base: Expert Notes and FAQs
- Maximizing Shelf Life: Prep Ahead and Storage Techniques
- Serving the Perfect Base: Recommended Topping Strategies
- Recipe FAQs
- 📝 Recipe Card
The Pursuit of the Perfect Crust: Redefining gluten-free Pizza
Oh, hello! You caught me basking in the smell of yeast and olive oil, which is frankly one of the best perfumes in the world. When you’re trying to create the perfect pizza night, nothing beats that aroma.
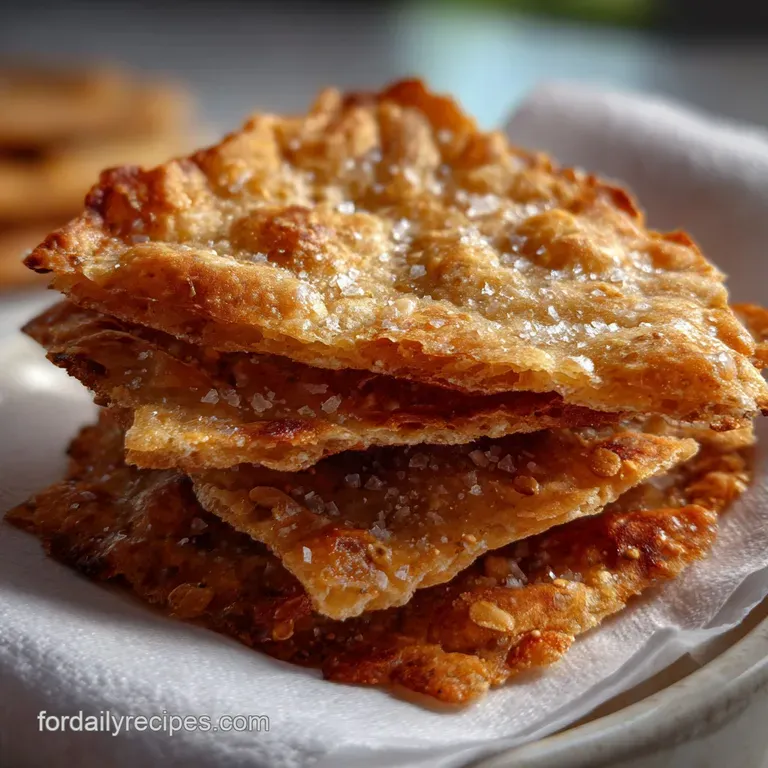
Forget sad, cracker like bases; this gluten-free Pizza Dough recipe is built for success, delivering a real, honest-to-goodness chewy crust.
For years, making true gluten-free Pizza Dough felt like a culinary unicorn hunt. It was always too dense, or it crumbled the second you picked it up. But this recipe is a total game changer.
It’s fast, incredibly reliable, and far cheaper than those questionable pre-made bases from the freezer aisle.
If you’ve struggled to find a free pizza dough recipe that actually performs like its gluten counterpart, stick with me. We are going deep into the science of psyllium husk today, and you are going to end up with the best, most genuinely chewy gluten-free pizza dough you have ever tasted.
Let's crack on.
The Alchemy of Psyllium: Achieving a Superior Dough Structure
Why Most gluten-free Doughs Fail (And How We Fix It)
Most basic gluten-free Pizza Dough recipes fail because they rely solely on starches, which bake up hard and dry. Traditional wheat dough has gluten, which is an elastic protein network that traps air and creates chewiness.
Without that network, GF doughs fall apart, resulting in a flatbread, not a pizza base. We fix this crucial structural flaw by using a special binder.
Psyllium Husk vs. Xanthan Gum: The Science of Chewyness
Xanthan gum is the standard GF binder, and while it works, it often results in a slightly gummy or brittle crust. The secret to this superior gluten-free Pizza Dough is Psyllium Husk Powder.
When hydrated, psyllium forms a gooey, gel-like substance that perfectly mimics gluten’s elasticity. It allows the dough to stretch and proof, giving you that beautiful bubble structure and the signature pull of proper pizza.
What to Expect: Texture, Flavor, and Handling
The flavor is earthy and subtly yeasty exactly what you want. The texture of the dough, however, is going to feel weird at first; it will be very sticky and wet right out of the mixer. Do not panic! That stickiness is moisture, and moisture is the enemy of cardboard crusts.
You’re building a high hydration dough that bakes up crisp outside and soft inside. This handling technique is the key to mastering this gluten-free Pizza Dough .
The Role of Hydration in a gluten-free Matrix
Hydration is non-negotiable when dealing with this kind of gluten-free Pizza Dough . We are using a high ratio of liquid to flour, but because the psyllium husk absorbs so much, the final dough shouldn't be slop. It’s heavy, soft, and slightly pliable.
Remember, if you skimp on the water, you get a dry, crumbly crust, which defeats the entire purpose of perfecting this free pizza dough recipe .
Activating the Yeast: Temperature Matters
You can’t rush the yeast. If your water is too hot (above 110°F/43°C), you kill the yeast and your pizza won't rise, leaving you with a dense gluten-free Pizza Dough . If it's too cold, it stays dormant.
Aim for water that feels comfortably warm on the inside of your wrist, like a baby's bath. That foaminess after 5– 10 minutes means your dough is ready for action!
Developing the Psyllium Gel for Optimum Elasticity
The 15 minute rest period in the instructions is vital. This isn't just a coffee break; this is when the psyllium powder is sucking up every drop of water and turning into that elastic gel we need.
Skipping this step means your gluten-free Pizza Dough will be impossible to handle, sticky, and completely unmanageable. Trust the process; the wait delivers the elasticity.
Essential Components for Your Artisan Crust
Choosing the Right gluten-free Flour Blend
I strongly suggest using a high-quality, pre-mixed GF all-purpose blend. Look for blends that primarily contain rice flours, starches (tapioca, potato), and maybe some millet. Crucially, if your blend already contains xanthan or guar gum, you need to reduce the psyllium powder slightly (maybe to 1.5 Tbsp) to avoid an overly rubbery texture.
This is important for getting the perfect structure in this gluten-free Pizza Dough .
Fine Psyllium Husk Powder: The Non-Negotiable Binder
I use the fine powder, not the whole husks. The powder dissolves seamlessly into the dough, providing a consistent binding force. If you only have whole husks, you must grind them finely first, otherwise, you end up with little gritty bits in your gluten-free Pizza Dough .
Working with Rapid Rise vs. Active Dry Yeast
I call for Instant Dry Yeast because it’s convenient and requires minimal waiting. Active Dry Yeast works perfectly too, but it absolutely must be bloomed first in the warm water and sugar mixture until visibly foamy. Either way, make sure your yeast hasn't expired!
Old yeast leads to a flat, sad crust, and nobody wants that on pizza night.
Substitutions and Adjustments for dairy-free Dough
This gluten-free Pizza Dough is naturally dairy-free thanks to the water base. If you wanted to replace the olive oil for a different flavor, melted vegan butter or another neutral oil (like grapeseed) works just fine.
If you want a richer crust, sometimes I swap a splash of the water for almond or oat milk.
| Ingredient | Substitute | Why it Works |
|---|---|---|
| Granulated Sugar | Maple Syrup or Honey | Feeds the yeast just as well. Use the same quantity. |
| Olive Oil | Melted Vegan Butter | Adds richness and flavor, particularly nice if you are aiming for a focaccia style base. |
| Psyllium Husk Powder | Xanthan Gum (1.5 tsp) | Only if necessary. Expect a denser, less chewy gluten-free pizza dough . |
| Yeast | Baking Powder/Soda | See the "Yeast Free Dough" variation above if you need a quick gluten-free pizza dough without yeast . |
The Chef's Guide to Preparing This gluten-free Pizza Dough
Mixing the Dry Ingredients and Creating the Psyllium Slurry
First, weigh your dry ingredients meticulously. Then, whisk the GF flour, psyllium powder, salt, and baking powder together in your big mixing bowl. You want them distributed evenly before adding any liquid. Meanwhile, make sure that yeast mixture is happily bubbling away, smelling slightly bready.
Add the olive oil to the liquid binder.
The Initial Mix: Bringing the Dough Together
Pour all the wet stuff into the dry stuff and start mixing on low speed with the hook attachment, or vigorously with a sturdy wooden spoon. It will initially look shaggy, like thick oatmeal.
Stop mixing once the flour disappears, scrape down the sides, and now the critical step: Rest for 15 minutes. This is essential for turning the wet ingredients into manageable, structural gluten-free Pizza Dough .
The Proving Stage: Achieving the Maximum Rise
After the second, brief mixing (the "kneading"), form your dough ball. Place it in a lightly oiled bowl. I always cover mine tightly with plastic wrap and then stick it in my cold oven with only the light on . That low, constant heat provides the perfect environment for yeast activation.
Wait 60 to 90 minutes. It should have visibly increased in size, looking soft and pillowy. This is going to result in a fantastic crispy gluten-free pizza dough once baked.
Shaping the Base: Handling the Sticky Dough
This dough is not like wheat dough; you can't throw it in the air. We rely on parchment paper for stress free shaping and transfer. Gently punch the dough down it will feel soft and airy and divide it. Place each piece on an oiled sheet of parchment.
My best advice here is to oil your hands heavily. Press the dough outward from the center, working into a circle. The parchment paper allows you to easily slide the base directly onto a blazing hot pizza stone, which is essential for a crispy crust.
Chef’s Note: If you want a really rustic, thick base, stop shaping at 8 inches. If you prefer thin and cracker like, stretch it closer to 11 inches. Avoid loading this gluten-free Pizza Dough with too many heavy toppings.
Troubleshooting Your Pizza Base: Expert Notes and FAQs
Solving the Sticky Situation: Why Your Dough is Too Wet
If you measured correctly using a scale, the dough should firm up nicely after the 15 minute rest due to the psyllium. If it still feels impossibly sloppy after the second mix, you might need to add a tablespoon or two of extra GF flour. But remember, a slightly wet dough is much better than a dry one!
If you find yourself in a bind, try flouring the parchment heavily with cornmeal instead it adds crispness and helps the dough slide beautifully.
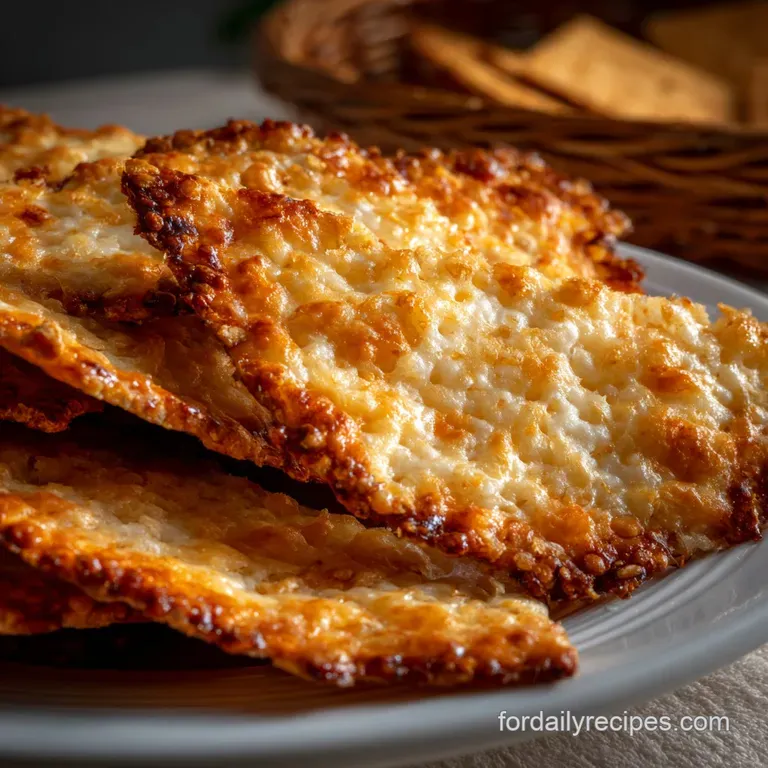
The Secret to a Crispy Undercarriage: Parbaking Explained
You absolutely need high heat for a superior crispy gluten-free pizza dough . Preheat your oven to its maximum temperature (450°F/230°C or higher) and let your pizza stone or baking steel preheat for at least 30 minutes.
Some people like to parbake the crust plain for 5 minutes before adding sauce and toppings. This removes excess moisture and guarantees a non-soggy center.
Why Didn't My Yeast Activate?
Nine times out of ten, your water was too hot, or your yeast was old. Always check the expiration date on the yeast packet! If you’re in a rush and realize too late your yeast is dead, you can quickly turn this into a gluten-free pizza dough without yeast .
Just add 2 teaspoons of baking powder to your dry ingredients and use milk (dairy or non-dairy) instead of water for the liquid. You lose the yeasty flavor, but you save dinner.
Maximizing Shelf Life: Prep Ahead and Storage Techniques
Refrigerating the Dough for Future Use
This specific gluten-free Pizza Dough holds up well in the fridge. Once you’ve finished the first proof, punch it down, oil it lightly, and seal it in an airtight container. It keeps for 2 3 days.
Just make sure to pull it out about an hour before you plan to bake so it can warm up to room temperature and relax a bit.
Freezing the Unbaked Crust
This is a great make-ahead gluten-free Pizza Dough strategy. Shape the dough on parchment paper first. Then, parbake it plain (no toppings) for about 7 minutes until the edges are set but the center is still pale.
Let it cool completely, then stack it between sheets of parchment paper and seal it tightly in a freezer bag. This will keep for up to 3 months.
Defrosting and Refreshing Your Frozen Dough
To use the frozen parbaked crust, simply pull it out and top it while still frozen or mostly defrosted. Bake it immediately on your hot stone at high heat, perhaps adding 3– 5 minutes to your overall baking time.
You’ll be shocked at how fresh this chewy gluten-free pizza dough tastes!
Serving the Perfect Base: Recommended Topping Strategies
Since this is such a sturdy gluten-free Pizza Dough , it can handle a fair amount of sauce and cheese, but remember the rule of thumb for any successful pizza: less is often more.
Heavy, water dense toppings (like fresh mozzarella, uncooked mushrooms, or raw tomato slices) are the enemy of a crispy base. For a guaranteed crispy edge, brush the rim with olive oil before it goes in the oven.
This delicious base provides the perfect vehicle for any topping combo you love, and it pairs beautifully with something light and contrasting afterwards. If you’re looking for a phenomenal dessert to follow up pizza night, I highly recommend my decadent Gluten dairy-free Apple, Ginger Thyme Tart Recipe it’s the perfect GF finish!
This gluten-free Pizza Dough is now your go-to for the ultimate homemade pizza night.

Recipe FAQs
Why is my gluten-free dough too sticky and difficult to handle?
If your dough is excessively sticky, you may have over hydrated it or the ambient humidity is high. Add 1 tablespoon of gluten-free flour blend at a time, kneading gently until the dough is tacky but does not cling to your hands.
Remember that gluten-free dough should always be softer than its wheat counterpart, so avoid adding too much flour which can lead to a dry crust.
Can I substitute psyllium husk powder with another binder like xanthan gum?
Psyllium husk is the critical binder for this recipe, providing the characteristic elasticity and chewiness that xanthan gum cannot fully replicate. While you can substitute with xanthan gum (using roughly 1.5 teaspoons per tablespoon of psyllium), the final texture will be significantly denser and less airy.
We highly recommend sticking to psyllium husk powder for the intended results.
My dough barely rose; why is the finished pizza dense and flat?
Poor rising is usually due to inactive yeast or a cold proofing environment. Ensure your water temperature was between 105 115°F (40 46°C) when activating the yeast, as hotter water will kill the yeast.
Also, place the covered dough in a warm, draft free spot for its initial proofing period to maximize yeast activity.
What is the secret to achieving a truly crisp crust when baking gluten-free pizza?
The key to maximum crispiness is using extremely high heat and maximizing heat transfer. Preheat your oven to the highest possible setting (ideally 500°F/260°C or higher) with a pizza stone or steel inside for a full hour before baking.
Cook the pizza directly on this super heated surface, as this shock of heat sets the dough quickly and creates a superior base.
Can I freeze this dough, and what is the best way to thaw it?
Yes, this gluten-free dough freezes exceptionally well after the first proofing stage. Shape the dough into individual balls, lightly coat them with olive oil, wrap tightly in plastic wrap, and freeze for up to two months.
Thaw the dough overnight in the refrigerator, then let it sit at room temperature for 30 45 minutes before shaping and baking.
How do I adjust the recipe for a super thin cracker crust versus a thicker pan pizza?
The thickness is controlled during the shaping and final proofing stages. For a thin cracker crust, roll the dough out very aggressively and bake it immediately without a second proof.
For a thicker, chewier crust, gently press the dough into the desired shape, and let it rest (proof) on the pizza pan for 15 20 minutes before adding toppings, allowing the yeast time to lift it.
I need to make this completely vegan; what substitutions are required?
If the recipe calls for milk, simply substitute an equal amount of unsweetened plant based milk, such as almond or oat milk. If the recipe includes an egg, you can successfully replace it with a flax egg (1 tablespoon ground flaxseed mixed with 3 tablespoons water, rested for 5 minutes).
The psyllium husk already provides excellent binding power, minimizing the structural need for eggs.
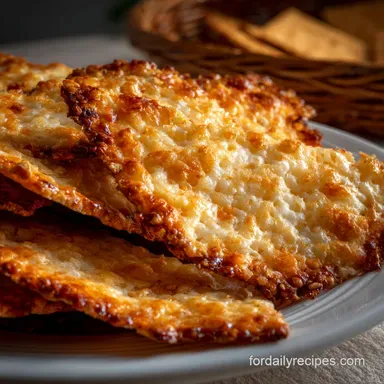
Chewy gluten-free Pizza Dough
Ingredients:
Instructions:
Nutrition Facts:
| Calories | 148 kcal |
|---|---|
| Protein | 0.8 g |
| Fat | 10.8 g |
| Carbs | 12.0 g |
